Showing posts with label cooking oil. Show all posts

Sunday, September 7, 2025

Buckwheat Pancakes with Chia Berry Compote


Tips to Remember:

Being gluten-free, a little bit of maida needs to be added as a binding agent to ensure the pancakes don’t break or fall apart. 


Ingredients: 

For Pancakes

2 cups buckwheat flour (kuttu)

½ cup maida 

1 whole egg

1/3 cup granulated sugar 

½ cup melted butter 

1 cup milk at room temperature 

½ tsp vanilla extract 

½ tsp baking pdr

3-4 tsp cooking oil


For Chia Berry Compote 

1 cup any frozen berries of choice (blueberry, raspberry, strawberry etc.) 

2 tsp lemon juice 

½ cup granulated sugar 

2 tsp chia seeds 

½ cup water 


Preparations

Mix the chia seeds in a cup of water and keep it aside. Place a saucepan on medium to low heat, add the frozen berries to the pan and gently stir them till they turn soft and mushy.  

Now add the granulated sugar and cook well until the sugar melts and creates a syrupy texture. Using a spatula gently mash the berries to form a thick compote. Once the mixture thickens, add the lemon juice and mix well, remove from the flame and keep aside. 

To make the buckwheat flour pancakes, take a large size mixing bowl, and add the dry ingredients. Buckwheat flour, maida and baking powder and mix everything well. 

Now add the milk gently and keep stirring to avoid forming lumps. Add enough milk to get a cake batter-like consistency. 

Add the vanilla essence and melted butter and give it a quick stir. 

Take a heavy pan and place it on low heat. Once the pan is hot enough, gently spread some cooking oil over it. Now ladle out some of the pancake batter on the pan. Cover it for a minute until the top of the pancake appears dry. 

Gently flip the pancake to cook on both sides. Cook until both sides are golden. 

Repeat the same process for the remaining batter. 

Stack 2-3 pancakes on a serving plate. Add the swollen chia seeds to the berry compote prepared earlier. 

Pour a dollop of the chia seed and berry compote over the stack of pancakes and enjoy hot. 


https://gscrochetdesigns.blogspot.com. one can see my crochet creations  

https://kneereplacement-stickclub.blogspot.com. for info on knee replacement

https://cancersupportindia.blogspot.com  for info on cancer and health related topics

https://GSiyers home remedies.blogspot.com   is the latest addition to my blogs

Monday, June 9, 2025

How to Make Granola

Ingredients

2 cups Rolled oats

¼ cup Almonds chopped

¼ cup Dates chopped

2 tbsp Raisins

1 1/2 tbsp Brown sugar

3 tbsp Honey

Salt - a pinch

3 drops Vanilla essence

2 tbsp Cooking oil


Instructions Pre-heat the oven to 160 deg C. Meanwhile, place oats, almonds(1 chopped into 3) dates, raisins,salt and brown sugar in a mixing bowl. Mix well and then add honey to it 1 tablespoon at a time and mix well. Add oil and vanilla essence and mix well. Line a baking tray with butter paper/ parchment paper and spread the mixture evenly. Bake it for 25 - 28 minutes or until you get a golden coloured granola. After 15 minutes of bake, every 5 minutes stir the mixture thoroughly to ensure even baking. After done, fluff it with big fork.  BakeNotes

You can add your choice of nut. I love almonds, so added it. Walnut or pecans also works fine.

The dried fruits also can be your favourite.

you can replace vanilla with a pinch cinnamon powder too


https://gscrochetdesigns.blogspot.com. one can see my crochet creations  

https://kneereplacement-stickclub.blogspot.com. for info on knee replacement

https://cancersupportindia.blogspot.com  for info on cancer and health related topics

https://GSiyers home remedies.blogspot.com   is the latest addition to my blogs 


Monday, April 21, 2025

Danger Zone: What Not to Store Beside Your Cooktop

Some kitchen habits feel automatic—like placing the paper towel roll near the stove or hanging your favorite oven mitts within reach. It makes sense, especially when you’re trying to keep things convenient. But that convenience can come with risks you might not realize. Your stove top can easily hit temperatures over 500 degrees Fahrenheit, which means anything nearby or above it could be exposed to heat well past 100 degrees. This can result in dried out foods, melted objects, and even a fire.

If you’ve been storing common items next to your stove top without a second thought, it might be time for a quick kitchen re-check. Here’s a look at ten things that should always be kept away from the stove—even if it seems harmless at first.
 
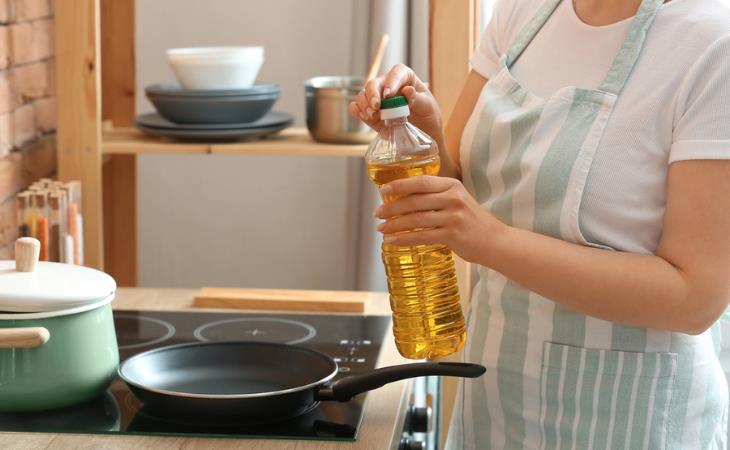
1. Cooking Oil
Kitchen Items You Should Never Keep Near the Stove 
It might seem convenient to keep your bottle of oil close to where you cook, but it’s not a great idea. Oil stored near heat sources like a stove can easily become a fire hazard. A bottle too close to a burner or open flame could catch fire or spill and trigger a grease fire. These are tough to manage and can spread fast. 
 
There’s also the long-term issue of quality. Heat exposure speeds up oxidation, which makes oil go rancid faster. This not only ruins the flavor, but it also affects the oil’s safety and shelf life. To avoid these problems, store your oil in a cool, dry cupboard instead. 
 
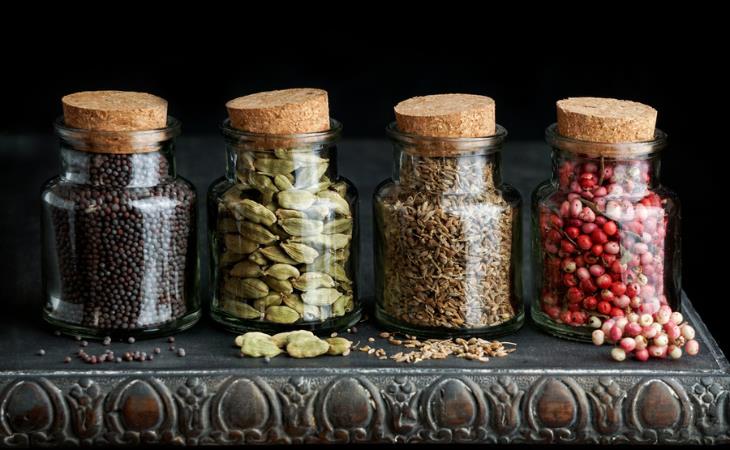
2. Spices 
Kitchen Items You Should Never Keep Near the Stove
Even though spice racks built into kitchen walls may look sleek, having them right next to the stove is not ideal. Spices are sensitive to heat and moisture, and keeping them close to a hot, steamy area causes them to lose flavor and color more quickly. If you use your spices often, this can add up to a lot of wasted money. You’ll get the most out of your spices if you store them in a dark, cool cabinet or pantry where the temperature doesn’t fluctuate as much. 
 
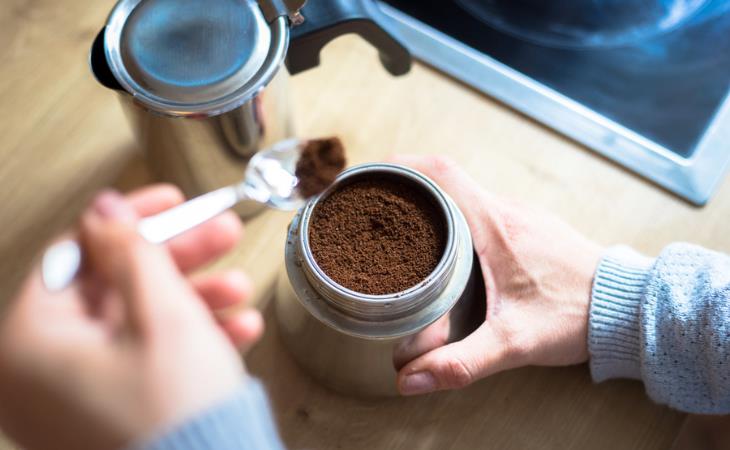
3. Coffee 
 Kitchen Items You Should Never Keep Near the Stove
Placing coffee beans or grounds near the stove can seriously mess with their flavor. High temperatures break down the aromatic compounds that give coffee its taste and smell. Over time, this leads to a stale or bitter brew. And there’s another issue: steam. If moisture seeps into your coffee, it can lead to clumping and even mold—especially if your container isn’t fully sealed. 
 
The best way to store coffee is in an airtight, opaque container kept somewhere cool and dark, away from heat or changing temperatures. 
 
4. Fruit Bowls
Fruit might look great sitting on the counter, but placing your fruit bowl too close to the stove is a recipe for quick spoilage. The heat and steam can cause fruit to soften, over-ripen, or rot faster than it normally would. Even durable fruits like apples and oranges can be affected. 
 
If space is tight, consider moving the bowl to a nearby table or another cooler corner of the kitchen. This helps keep your fruit fresher for longer and cuts down on food waste. 
 
5. Medications and Supplements
Are you one of those who like to keep vitamins or medications in the kitchen for daily convenience? You should think again. Heat and humidity from cooking can break down active ingredients, which reduces effectiveness and might even make them unstable. This applies to common supplements like probiotics and fish oil, too.
 
A better place is a cool, dry spot with a stable temperature. Always check the label for storage instructions, and unless refrigeration is recommended, avoid storing them in the kitchen altogether.

 
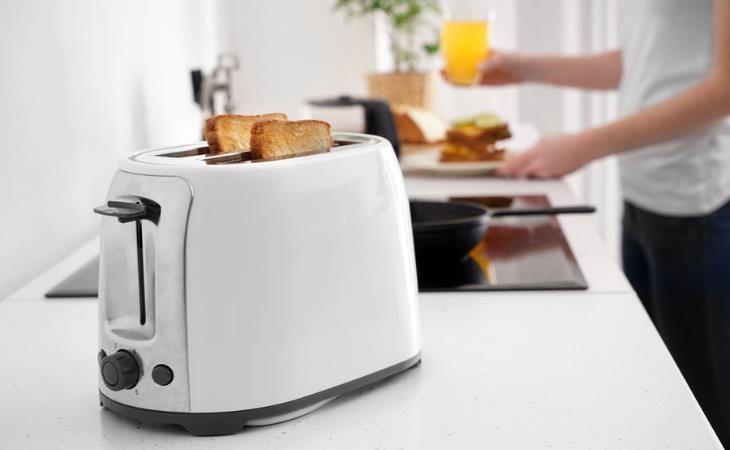
6. Corded Kitchen Appliances
 Kitchen Items You Should Never Keep Near the Stove
 
Many of us tend to leave appliances like toasters or blenders near the stove. It saves counter space, right? But have you considered the fact that cords can slip or get knocked over onto hot burners, which can start fires? Even if the appliance isn’t on, the surrounding heat can damage the wires or internal parts. Grease and food splatter from cooking can also gum up the machines. 
 
A safer bet is to plug them in away from the stove or store them when not in use. Ideally, give them their own space on a separate counter or cabinet to keep things organized and safe. 
 
7. Paper Towels
They’re in nearly every kitchen and are used all day long. But paper towels and heat aren’t a safe mix. In smaller kitchens, it’s easy to place the roll right next to the stove just for convenience. That small move could be a big mistake. If exposed to heat or open flames, paper towels can easily ignite, especially in a rush when you're cooking on multiple burners. 
 
Instead, keep them tucked in a drawer or hung from a rack well away from any source of heat. It’s a simple shift that can prevent a kitchen accident. 
 
8. Wooden Cutting Boards
Wood doesn’t belong anywhere near your burners. When exposed to the heat and steam from cooking, wooden cutting boards can expand and contract. That constant stress warps the board and can cause cracks to form. Those tiny splits? Perfect for bacteria to settle in. And since it’s flammable, it’s not something you want propped up next to an open flame. 
 
Store it upright inside a cabinet or on a rack at the far end of your counter if you're short on space. It’ll last longer and stay safer.

 
9. Canned Goods
Canned foods are meant to be stored at room temperature, and most people assume that means anywhere in the kitchen is fair game. That isn't wise because placing them above or next to the stove can raise their internal temperature much higher than you think. According to food safety guidelines, when canned goods are exposed to temperatures above 100°F, the risk of spoilage goes up. It's better to move your canned beans and soups to a cool pantry or cabinet instead of that shelf above the stove.


10. Dish towels and Oven Mitts
They’re used right at the stove, so it feels natural to keep them nearby. However, you must remember that towels and mitts are usually made from fabrics that catch fire quickly if they accidentally fall onto a hot burner. Instead of leaving them draped on the oven handle or tossed beside the stove, find a drawer or basket to store them in. Keeping them out of the heat’s reach can help prevent unexpected flare-ups when you’re moving fast in the kitchen.


https://gscrochetdesigns.blogspot.com. one can see my crochet creations  

https://kneereplacement-stickclub.blogspot.com. for info on knee replacement

https://cancersupportindia.blogspot.com  for info on cancer and health related topics

https://GSiyers home remedies.blogspot.com   is the latest addition to my blogs


Saturday, December 14, 2024

Pulihora

Ingredients

1/2

1/2

For Tempering:

1/2


Method:

The first step is to cook the rice. Wash the rice and cook it on steam or in a pressure cooker until it is cooked, but not mushy. Once cooked, transfer to a plate.
Sprinkle some salt and turmeric over the cooked rice and toss it gently. Sprinkle a little bit of sesame oil over it as well.
Take a kadhai, add some oil to it and place it on medium heat. Now add some mustard seeds, peanuts, chana dal, and urad dal and fry everything till it is aromatic. Next, add the curry leaves, slit green chilies and ginger. Finally, add the dry red chilies and fry till it is crisp.
Now add some asafetida, and then add the tamarind pulp along with some jaggery if you like.
On a low flame cook everything lightly, now add the cooled rice to the kadhai and lightly toss it to mix the tempering into the rice.
Once the rice is evenly coated with the tempering remove it from the flame.
Serve this delicious and mouth-watering Pulihora hot and devour!


https://gscrochetdesigns.blogspot.com. one can see my crochet creations  

https://kneereplacement-stickclub.blogspot.com. for info on knee replacement

https://cancersupportindia.blogspot.com  for info on cancer and health related topics

https://GSiyers home remedies.blogspot.com   is the latest addition to my blogs.

Monday, November 11, 2024

Instant Jowar Dhokla

Top Tips To Make The Best Jowar Dhokla 

  • I would recommend using homemade, sour curd for this recipe, as that enhances the flavour and makes the dhoklas soft
  • Add water gradually as you don’t want the batter to be too thick or runny. The perfect dhokla batter resembles a cake batter consistency and should fall in ribbons when poured. This helps the dhoklas stay fluffy and porous
  • Set the water to boil before you start prepping the batter. If the water is not boiling, the dhoklas will become dense and hard, instead of soft and spongy. 
  • Add eno or fruit salt to the batter just before steaming and gently mix until the batter turns. The timing of adding the fruit salt and not not overmixing the batter are two of the most important elements to help this dhokla recipe.  
  • To check if the dhoklas are done, insert a knife or toothpick in the centre. If it comes out clean, the dhoklas are ready. If not, then steam for another few minutes until done. 
  • Always allow the dhoklas to cool down before cutting them into pieces to make the demoulding process easier and mess-free. 

If you have been looking for easy and healthy millet recipes, then these jowar dhoklas might be a great place to start. I love serving these with some green chutney and a steaming cup of chai. The best thing about this dish is that it works for breakfast, as a snack, and even a side dish with your lunch. 


Ingredients 

For the batter:

  • 1 cup jowar flour, sorghum flour
  • 2 tbsp suji, rava/ semolina
  • 3 tbsp sour curd, or plain yoghurt at room temperature
  • 1 ¼ cups water, start with 1 cup and add more as required
  • ½ inch ginger, crushed, approx 1 tsp
  • 2 green chilies, crushed, approx 1 tsp
  • 1 tsp cooking oil
  • ½ tsp salt
  • 1 tsp Eno fruit salt  5 grams (see note 1 for substitute)

For the tempering:

  • 1 tbsp cooking oil
  • 1 tsp mustard seeds
  • 1 tsp white sesame seeds
  • ¼ tsp asafoetida powder, hing
  • 2 sprigs curry leaves
  • 1 tbsp finely chopped coriander leaves
  • ½ tsp salt
  • 1 tsp sugar
  • juice of ½ lemon

For garnish:

  • 1 tbsp finely chopped coriander leaves
  • 1 tbsp freshly grated coconut
  •  
  •  Instructions 
    • Batter: Add jowar flour, suji and curd to a mixing bowl. Add water gradually and make a thick and fluffy batter which has the consistency of cake batter. It should fall in a ribbon like consistency when poured with a ladle. Rest the batter for 15 minutes. Then add crushed ginger and green chilies, 1 teaspoon oil & salt and mix well.
    •  Prep Steamer: Grease a round 12 inch plate with oil. Heat the steamer or a pot with water. Place a stand inside and let the water come to a boil.
    • Add Fruit Salt or Eno: Once the water starts boiling, add fruit salt or Eno to the batter, and mix gently till the batter is frothy.
    •  
      Steaming Dhoklas: Transfer the batter immediately to the prepared tray or plate, keep it on the stand, cover and steam on medium low heat for 15 minutes. To check if the Dhokla is cooked, insert a toothpick in the centre of the dhokla and if it comes out clean, it’s done. If it has batter on it, steam for a few more minutes until done. Remove the plate from the steamer and set aside to cool.
    •  
      Tempering: Heat oil in a pan, add mustard seeds and once they sputter, add sesame seeds, hing, curry leaves, salt, sugar and water. Be careful as the water will splutter. After 10 seconds, switch off the stove and squeeze lemon. Mix with a spoon.
    •  
      Serving Dhoklas: Demould dhoklas once cooled and cut into squares. Pour the tempering over the dhokla and let it soak in it for 5-10 minutes. Garnish with grated coconut & coriander leaves just before serving. Dhoklas are ready to be served with green chutney.

    Notes

    1. Substitute for Eno: If Eno (fruit salt) is unavailable in your area, you can replace 1 tsp Eno with ½ teaspoon Baking Soda + ½ teaspoon Lemon Juice.
    2. Try to use sour curds to get  soft dhoklas.
    3. It’s important that the consistency of the batter is like cake batter that falls like a ribbon when poured so that the dhoklas cook well & are porous.
    4. It’s really important to have the steamer going and the water boiling before you add Eno or fruit salt to the batter. If there is a long gap between adding eno and steaming, the dhoklas won’t be light and spongy and will become dense.
    5. Don’t skip the tempering as it adds that perfect balance of sweet, salty, sour flavour that’s so essential to amazing dhoklas.
    6. Grated coconut for garnishing is optional but trust me, you’ll love it!
    7. These taste best when fresh, but can be made a day in advance and refrigerated. Steam them for 5 minutes just before serving. They remain fresh in the fridge for up to 5 days.

    https://gscrochetdesigns.blogspot.com. one can see my crochet creations  

    https://kneereplacement-stickclub.blogspot.com. for info on knee replacement

    https://cancersupportindia.blogspot.com  for info on cancer and health related topics

    https://GSiyers home remedies.blogspot.com   is the latest addition to my blogs.


Thursday, September 26, 2024

Lentil Bread with seeds and Nuts

 Ingredients: 

  • 1 cup soaked lentils (orange masoor dal) 
  • ½ cup ground flax seeds 
  • 2 tsp cooking oil 
  • 2 tsp baking powder 
  • ½ cup cornflour 
  • 1 cup mixed nuts and seeds (pumpkin seeds, sunflower seeds, sesame seeds etc) 

Method: 

  1. Set the oven to preheat at 180’C. 
  2. In a blending jar add the soaked lentils without water along with the ground flaxseeds and blend to get a fine paste. 
  3. Transfer the paste into a mixing jar, add some oil, salt baking powder and cornflour and mix everything well. This bread recipe does not need to be kneaded. 
  4. Take a bread mould and grease it well with oil. Transfer the batter to the bread mould. Generously top the batter with mixed seeds and nuts, and lightly press them so they get embedded in well. 
  5. Transfer it to a pre-heated oven and bake for 40-45 minutes or until the bread is perfectly baked. 
  6. Allow the bread to cool, cut the slices of the thickness of your choice. Enjoy preparing a sandwich or any way you like. 


    https://gscrochetdesigns.blogspot.com. one can see my crochet creations  

     https://kneereplacement-stickclub.blogspot.com. for info on knee replacement

     https://cancersupportindia.blogspot.com  for info on cancer and health related topics

    https://GSiyers home remedies.blogspot.com   is the latest addition to my blogs.