Showing posts with label all spice pdr.. Show all posts

Tuesday, March 24, 2026

Best classic hot cross buns for Easter

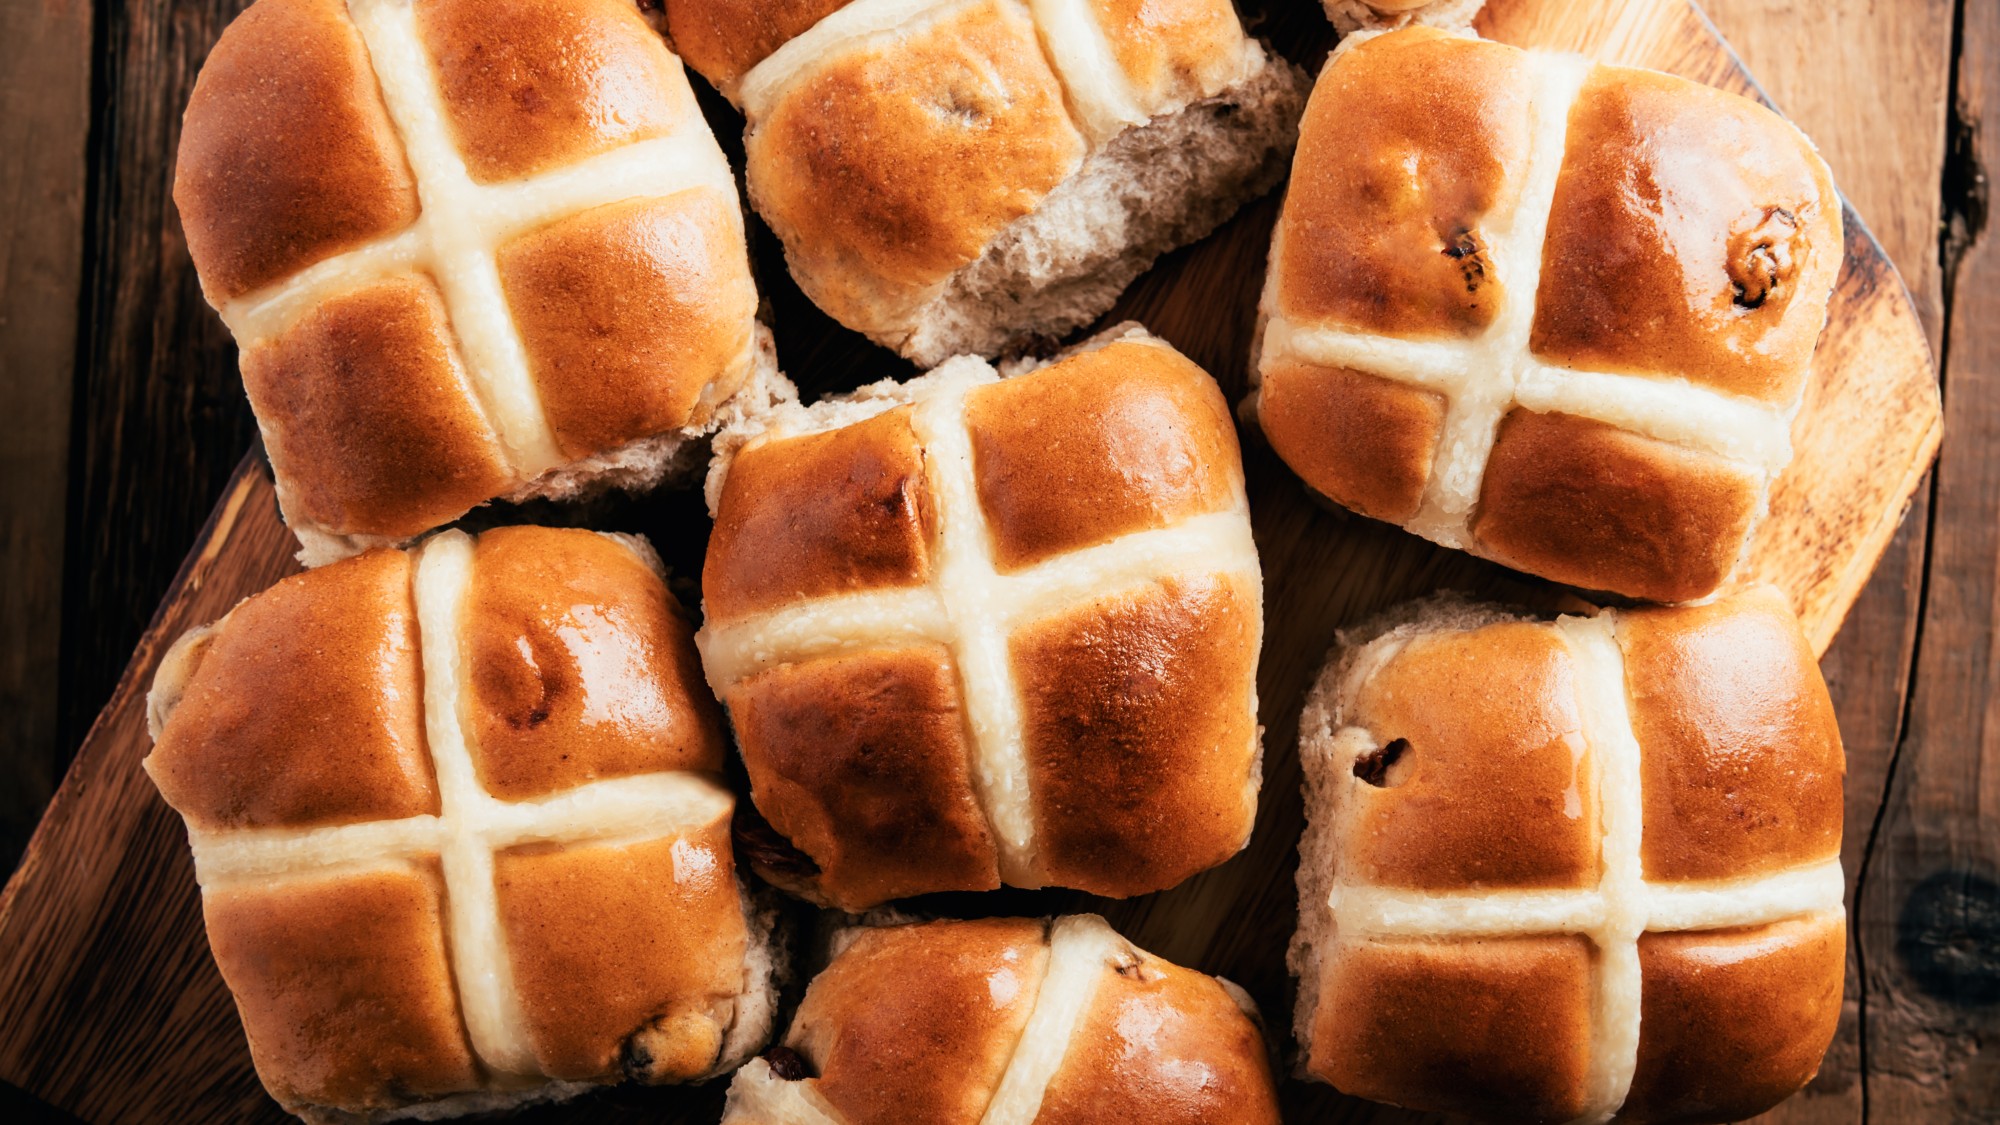
hot cross buns on a wooden countertop  

Ingredients

3/4 cup (180ml) whole milk warmed to 110 F

 2 and 1/4 tsp active dry yeast or instant yeast (1 standard packet)

 1 tsp granulated sugar

1/2 cup (100g) packed light or dark brown sugar
 
5 tbsp (71g) unsalted butter, softened to room temperature and cut into 5 pieces 
 
1/2 tsp pure vanilla extract 
2 large eggs @ room temperature
1 tsp salt
1 1/4 tsp cinnamon pdr 
1/2 tsp nutmeg pdr
1/2 tsp ground all spice 
3 and 1/2 cups (438g) all-purpose flour or bread flour
1 cup (140g) raisins or currants* 

Flour Cross

 1/2 cup (63g) all-purpose flour or bread flour

68 tbsp (90-120ml) water 

Orange Icing

1 cup (120g) confectioners’ sugar 

3 tbsp (45ml) fresh or bottled orange juice (or use milk and a splash of vanilla extract for plain icing)


Preparations

  • Prepare the dough: Whisk the milk, yeast, and granulated sugar together in the bowl of your stand mixer. Cover and allow mixture to sit for about 5 minutes or until foamy on top. *If you do not own a mixer, you can do this in a large mixing bowl and in the next step, mix the dough together with a large wooden spoon or silicone spatula. It will take a bit of arm muscle. A hand mixer works, but the sticky dough repeatedly gets stuck in the beaters. Mixing by hand with a wooden spoon or silicone spatula is a better choice.* 
  • Add the brown sugar, butter, vanilla extract, eggs, salt, cinnamon, nutmeg, allspice, and 1 cup (125g) flour. Using the dough hook or paddle attachment, mix on low speed for 30 seconds, scrape down the sides of the bowl with a rubber spatula, then add the remaining flour and the raisins. Beat on low speed until the dough comes together and pulls away from the sides of the bowl, about 2 minutes. Dough should be a little sticky and soft. If it’s too sticky and not pulling away from the sides of the bowl, mix in additional flour 1 Tablespoon at a time.
  • Knead the dough: Keep the dough in the mixer and beat for an additional 5 full minutes, or knead by hand on a lightly floured surface for 5 full minutes. If the dough becomes too sticky during the kneading process, sprinkle 1 teaspoon of flour at a time on the dough or on the work surface/in the bowl to make a soft, slightly tacky dough. Do not add more flour than you need because you do not want a dry dough. After kneading, the dough should still feel a little soft. Poke it with your finger—if it slowly bounces back, your dough is ready to rise. You can also do a “windowpane test” to see if your dough has been kneaded long enough: tear off a small (roughly golfball-size) piece of dough and gently stretch it out until it’s thin enough for light to pass through it. Hold it up to a window or light. Does light pass through the stretched dough without the dough tearing first? If so, your dough has been kneaded long enough and is ready to rise. If not, keep kneading until it passes the windowpane test.
  • 1st Rise: Lightly grease a large bowl with oil or nonstick spray. Place the dough in the bowl, turning it to coat all sides in the oil. Cover the bowl with aluminum foil, plastic wrap, or a clean kitchen towel. Allow the dough to rise in a relatively warm environment for 1-2 hours or until double in size. (I always let it rise on the counter. Takes about 2 hours. 
  • Grease a 9×13-inch baking pan or two 9-inch square or round baking pans. You can also bake the rolls in a cast iron skillet or on a lined baking sheet.
  • Shape the rolls: When the dough is ready, punch it down to release the air. Divide the dough into 14-16 equal pieces. (Just eyeball it– doesn’t need to be perfect!) Shape each piece into a smooth ball, pinching it on the bottom to seal. I do this entirely in my hands and you can watch in the video above. Arrange in prepared baking pan.
  • 2nd Rise: Cover shaped rolls with aluminum foil, plastic wrap, or a clean kitchen towel. Allow to rise until puffy, about 1 hour.
  • Preheat oven to 350°F (177°C).
  • Add the cross: Whisk the cross ingredients together, starting with 6 Tablespoons of water. You want a thick paste that will pipe easily. Add remaining water if needed. Spoon paste into a piping bag or zipped-top bag. (No need to use a piping tip if using a piping bag.) Snip off a small piece at the corner. Pipe a line down the center of each row of buns, then repeat in the other direction to create crosses.
  • Bake the rolls: Bake for 20-25 minutes or until golden brown on top, rotating the pan halfway through. If you notice the tops browning too quickly, loosely tent the pan with aluminum foil. Remove from the oven and allow rolls to cool for a few minutes as you prepare the icing.
  • Make the icing: Whisk the icing ingredients together, then drizzle or brush on warm rolls. Serve immediately.
  • Cover leftover rolls tightly and store at room temperature for 1-2 days or in the refrigerator for up to 1 week.
  •  

    Notes

    1. Freezing Instructions: Prepare recipe through step 6. Place shaped buns in a greased baking pan, cover tightly, and freeze for up to 3 months. Once frozen, the dough balls won’t stick together anymore and you can place them in a freezer bag if needed. On the day you serve them, arrange the dough balls in a greased baking pan, cover tightly, then let them thaw and rise at room temperature for about 4-5 hours. Continue with step 8. You can also freeze the baked hot cross buns. Allow them to cool completely, then freeze without icing for up to 3 months. Thaw in the refrigerator or at room temperature, then reheat as desired and add icing.
    2. Overnight Instructions: Prepare the recipe through step 6. Cover the shaped buns tightly and refrigerate for up to about 15 hours. At least 3 hours before you need them the next day, remove the buns from the refrigerator, keep covered, and allow to rise on the counter for about 1-2 hours before baking. (Skip step 7.) Alternatively, you can let the dough have its 1st rise in the refrigerator overnight. Cover the dough tightly and place in the refrigerator for up to 12 hours. Remove from the refrigerator and allow the dough to fully rise for 2 more hours. Continue with step 5.

  • Optional Add-Ins: Instead of (or in addition to) raisins, try using dried cranberries, chopped pecans or walnuts, chopped candied citrus, or chopped dried apricots. Keep total add ins to about 1 and 3/4 cups total. Feel free to add the zest from 1 lemon or orange to the dough when you add the butter. Add 1/4 teaspoon ground cloves or cardamom, if desired. Feel free to adjust the spices to your liking. You can plump up the raisins, currants, or dried cranberries if desired. Soak in hot water for 5-10 minutes, drain, then pat dry before adding to dough.
  • Whole Milk: Lower fat or nondairy milks work in a pinch. The rolls will lose a little flavor and richness. I highly recommend whole milk or even buttermilk.
  • Cinnamon: Cinnamon can prohibit doughs from rising. We use 1 and 1/4 teaspoons in this dough to produce dense buns. If you want a fluffier roll-type hot cross bun, feel free to reduce the cinnamon down to 1/2 teaspoon or leave it out completely.
  • Yeast: Use instant yeast or active dry yeast. Rise times will be slightly longer using active dry yeast. 
  • Flour: You can use all-purpose flour or bread flour. All-purpose flour is convenient for most, but bread flour produces chewier hot cross buns. Either flour is fine and there are no other changes to the recipe if you use one or the other.
  • Icing Cross: If you prefer to make a cross from icing and pipe it onto the buns after baking, skip step 9 and skip the orange icing glaze on top. However, you can use the orange icing recipe to make the icing cross. Reduce orange juice to 1 Tablespoon to yield a very thick icing. Replace with milk and add a splash of vanilla extract, if desired. Feel free to also make the orange glaze for topping if you want double icing—a cross and glaze all over.
  •  


    https://gscrochetdesigns.blogspot.com. one can see my crochet creations  

    https://kneereplacement-stickclub.blogspot.com. for info on knee replacement

    https://cancersupportindia.blogspot.com  for info on cancer and health related topics

    https://GSiyers home remedies.blogspot.com   is the latest addition to my blogs


    Thursday, June 19, 2025

    Pineapple spice cake

     Ingredients

    pecan nuts 2 cups

    all purpose flour 3 cups

    baking pdr 1 tsp

    baking soda 1 tsp

    cinnamon pdr 1½ tsp

    allspice  ½ tsp

     salt ½ tsp

    mashed ripe bananas 1 cup OR eggs 3

    crushed pineapple (canned) – 1 can  

    vegetable oil  ¾ cup

    granulated sugar  – ¾ cup

    brown sugar– ¾ cup

    vanilla essence– 2 tsp

    parchment paper – As needed


    For cream cheese frosting

     cream cheese– 500 gm

    unsalted butter– ½ cup

    icing sugar – 4 cups

    vanilla essence – 1½ tsp


    Preparations

    Bring all the refrigerated items like cream cheese, butter, and eggs to room temperature.

    Preheat the oven to 175 degree Celsius. Grease 3 8-inch cake pans, line with parchment paper rounds and grease the parchment paper.

    Whisk the dry ingredients, flour, cinnamon powder, baking powder, baking soda, allspice and salt until completely combined. Fold in 1-1/2 cup roasted pecans. Add a can of crushed pineapples. Break the eggs and fold them into the mixture. Add vegetable oil, brown sugar and granulated sugar.

    Spread the cake batter evenly between the 3 cake pans. Bake for 30 minutes until the toothpick inserted in the centre comes out clean. Rotate the pans halfway through baking.

    Remove the cakes from the oven and let them cool completely in the pans. Once completely cooled, remove the cakes from the pan and level the tops off, so they are flat by using a serrated knife.

    In a large bowl, beat the cream cheese and butter together until smooth.

    Place one cake on the serving plate, cover the top with the frosting, cover it with another layer of cake, and apply the frosting evenly, doing the same with another layer of cake. Cover the top and the sides evenly with the frosting and decorate the cake with the toasted pecans on top as well as the sides.

    Refrigerate the cake for 15 to 20 minutes before slicing to hold its shape well.


    https://gscrochetdesigns.blogspot.com. one can see my crochet creations  

    https://kneereplacement-stickclub.blogspot.com. for info on knee replacement

    https://cancersupportindia.blogspot.com  for info on cancer and health related topics

    https://GSiyers home remedies.blogspot.com   is the latest addition to my blogs


    Monday, January 8, 2024

    Homemade Pumpkin Pie Spice

     Ingredients

    • 3 tbsp cinnamon pdr
    • 1 tsp ground nutmeg
    • 2 tsp ground ginger
    • 1 tsp allspice
    • 1 tsp ground clove

    Instructions

    1. Mix all ingredients together in a small bowl.
    2. Store in a jar in the pantry for up to one year!     
      https://gscrochetdesigns.blogspot.com. one can see my crochet creations  

      https://cancersupportindia.blogspot.com. feel free to view for easy, simple and health tips  

      https://kneereplacement-stickclub.blogspot.com. for info on knee replacement

      https://GSiyers home remedies.blogspot.com     is the latest addition to my blogs.
                                

    Monday, February 1, 2021

    8 Useful Tips for Healthier Baking You MUST Try Today

    Baking is such a great hobby to have, isn’t it? It can be relaxing and calming and, most importantly, result in some delicious baked goodies to warm our soul. However, as much as we all love those, they are usually not the healthiest choice. After all cakes, pies, cookies, and muffins are loaded with sweets, fats, oil, sugar, and other processed ingredients.

    Thankfully though, there are ways in which you can continue enjoying baking as part of a balanced diet. Here, we have offered some tips that will help reduce the fat and sugar content in your baked goods to make them more nutritious. The great thing about these hacks is that they won’t alter the taste of your favorite baked items at all. Check out these easy tips for healthier baking and incorporate them into your cooking regimen today.

    1. Opt for healthier flour options like whole-grain or oat flour
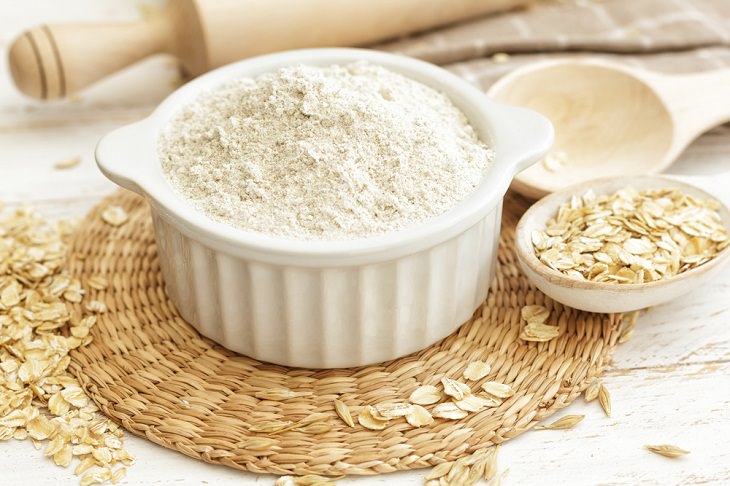
    Tips for Healthier Baking, oats flour
    Instead of going for white flour, try using whole grain flour. It will increase the fiber content of your baking goods substantially and will make them much more filling. Whole wheat flour, too, is a good alternative as it packs in more fiber than all-purpose flour. 
     
    If these aren’t viable or don’t suit your taste, you can try gluten-free choices like almond and oat flour. Oat flour, in particular, is terrific for adding sweetness to cookies, muffins, and crusts. However, bear in mind that they can hamper the texture of your baked goods if used improperly and make them a bit crumbly or chewy. 
     
    Tip: Oat flour is significantly lighter than all-purpose and whole wheat flour. 1 1/4 cup oats will yield approximately 1 cup flour. To help your bread rise, add some more yeast.
     
    2. Cut down the sugar considerably
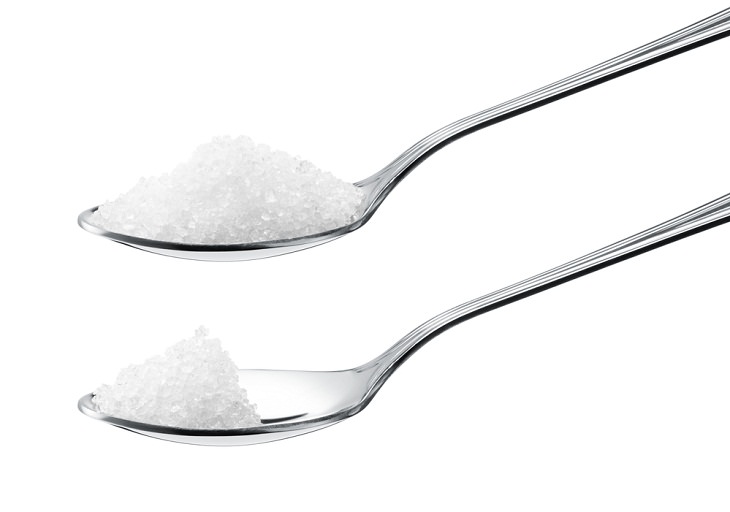
    Tips for Healthier Baking, sugar
    One of the best ways to reduce the calorie content in your baked goods is to cut down on the sugar considerably. Ideally, reducing the amount of sugar that the recipes generally require by one-fourth would be good. You might feel that cutting down sugar by such a drastic quantity would change the taste of the final product. It might take some getting used to, but after a couple of times, you won't notice much of a difference anymore. Most importantly, it will be so much better for your health. 
     
    3. Use flax seeds as a substitute for eggs
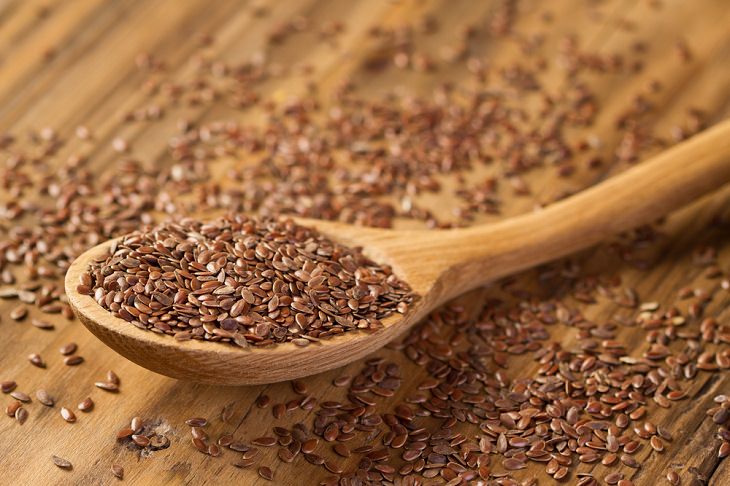
    Tips for Healthier Baking, flax seeds
    Most of us can’t imagine baking without eggs as they help baked goods rise and become light and fluffy. However, if you want to cut cholesterol or fat, then substituting eggs with options like chia seeds or flaxseeds would be a good idea. Flax-seeds contain a good amount of fiber, protein, and omega-3 fatty acids, and when mixed with water, they make for a great egg alternative. For best results, just mix one tablespoon of ground flax-seed with three tablespoons of water for each egg.
     
    4. Use peanut butter powder
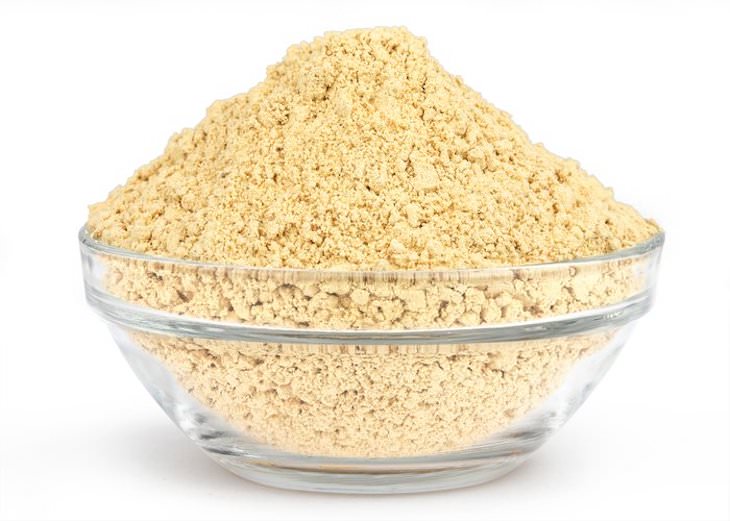
    Tips for Healthier Baking, peanut butter powder
    Peanut butter is a yummy addition to many kinds of cookies, bars, cakes, and muffins. However, if you want the deliciousness of peanut butter minus plenty of fats, then peanut butter powder will be an excellent replacement. It’s made by pressing out most of the natural oils from roasted peanuts and then grinding them into a fine powder. The resulting powder contains 85% fewer calories from fat but is just as flavorful as peanut butter. Use peanut butter powder for 1/3 of the flour for best results.

    5. Try some healthful substitutes for butter and oil
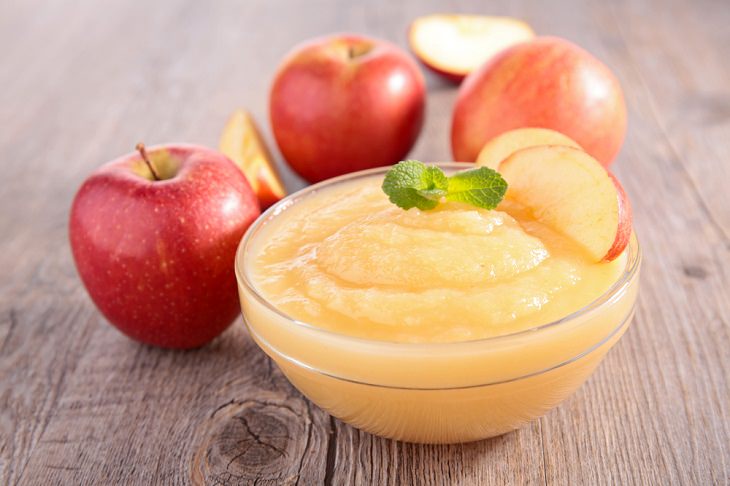
    Tips for Healthier Baking, substitutes for butter and oil
    If you’re looking to reduce the amount of butter or oil in a baked recipe, then you have many healthful choices. For starters, coconut oil is a suitable butter substitute in baking. You can use it as a 1:1 replacement for butter: if a recipe calls for ½ cup butter, use ½ cup coconut oil instead. It may change the flavor slightly but works excellently for recipes that require rich chocolate flavors. Coconut oil would also be ideal for creating a flakier crust in pie crusts. 
     
    Applesauce is another wonderful option that can be used as a substitute for both butter and oil in baking. It works really well for cake-like recipes while cutting the calories and increasing the nutritional content. Just replace half the amount of butter with applesauce and you'll be good. 
     
    Pumpkin purée can replace butter in most recipes and will be very healthy in baking as it's loaded with vitamin A and other nutrients. However, pumpkin purée can be quite watery so just use 3/4 of the amount you use for butter. 
     
    Lastly, you can use thick and creamy Greek yogurt instead of oil in your baking recipes. It is full of proteins and has less sugar than regular yogurt. Keep in mind, however, that nonfat yogurt may result in a crumbly and dry product. So, try and go for full-fat yogurt to help keep your baked goods moist.

    6. Add spices without all the extra calories
    Tips for Healthier Baking, spices
    Adding warm spices such as cinnamon, nutmeg, or ginger to your baked goods can really perk up their flavor. The best thing about these spices is that you won’t then need to rely on added sugar or oil. In fact, with the use of spices, you can cut the sugar your baked recipe needs by almost half. Cinnamon works perfectly for pancakes while nutmeg is great for muffins. Cocoa powder, meanwhile, can be added to cookie dough. 
     
    To make the best use of the spices in your baked goods, just double up their amount that's generally used. You can even get creative by adding allspice or almond extracts to boost the sweetness without the need of adding any sugar. 
     
    7. Keep an eye on portion control. Try traybake options.
    Tips for Healthier Baking, traybake goodies
    Controlling your portion size is also an important step in making baking a part of a balanced diet. How many of us can resist the temptation of having that one extra cookie or another slice of our favorite cake? What you can do to control this is to make ‘mini’ versions of the baked items so that even if you gobble up two or three, you won’t be taking in too much fat or calorie per portion. 
     
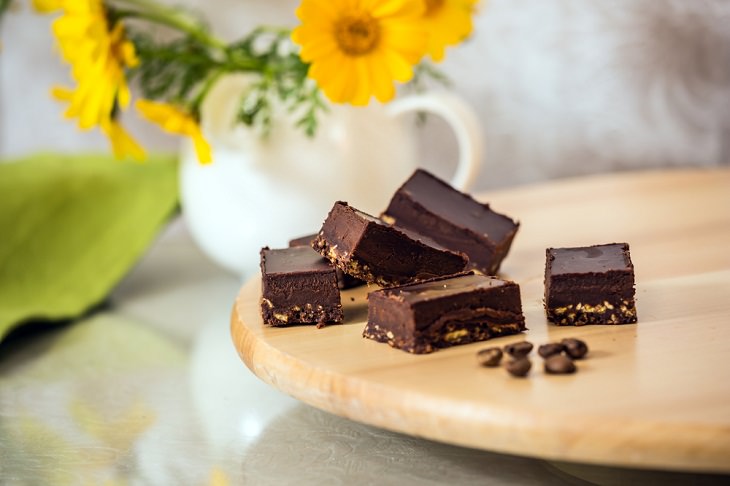
    Another useful tip is to go for tray-bake options as they can easily be cut into small squares. For those who may not know, tray-bake is a type of cake (or similar sweet food) that is baked in a tray, cut into small squares, and served as a biscuit, bar, or cake. Some of the healthiest tray-bake cake recipes are carrot cake, gluten-free banana flapjack, low-fat peanut butter bar, and chia seeds bar.
     
    8. Use cacao nibs
    Tips for Healthier Baking, cacao nibs
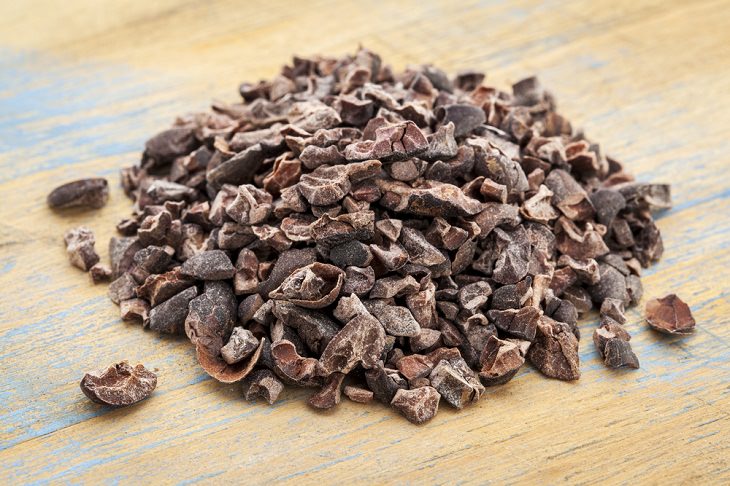
    Cacao nibs are small pieces of crushed cacao beans that have been fermented, dried, and usually roasted. They have a bitter, chocolatey flavor and are loaded with an impressive amount of nutrients, antioxidants, and powerful plant compounds. Nutritionists say that cocoa nibs pack way more nutritional benefits than cocoa. These little delights can be used in baked goods like muffins and pancakes as cacao nibs are a common dairy-free substitute for chocolate chips.
     
    What’s great is that cocoa nibs are already chipped and hence will add that extra crunch to your baked goodies. Moreover, they will also suppress your sugar cravings without having to add any extra sugar.

    https://gscrochetdesigns.blogspot.com. one can see my crochet creations  

    https://cancersupportindia.blogspot.com. feel free to view for easy, simple and health tips  
    https://kneereplacement-stickclub.blogspot.com. for info on knee replacement


    Friday, December 28, 2018

    HEALTHY- NO EGGS- NO BUTTER, CARROT TUTTI-FRUTTI CAKE

    INGREDIENTS
    carrots 3 small grate
    brown sugar  1/2 cup powdered
    all spice pdr.  1/4 tsp
    cinnamon pdr. 1/4 tsp
    dry ginger pdr.  1/4 tsp
    buttermilk  1/2-3/4 cup
    whole wheat flour  1 cup
    baking pdr. 1 tsp
    baking soda  1 tsp
    nuts  1 tbsp
    tutti-frutti  2 tbsp
    butter for greasing the dish

    METHOD
    as usual, I chop carrots, put it in the mixer jar to mince it, then I added sugar to pdr.
    I put the carrot, pdr mixture in a bowl, added buttermilk, mixed well, then added flour 1/2 cup, mixed well, then add rest of the flour, mixed well, if need be add little buttermilk or milk, it should be a thick batter.
    Add baking pdr. and baking soda, mix well, add the spice powders mix well, add tutti-frutti, nuts, mix well, spread in a micro-safe dish which is greased well, micro high for 6 minutes or till done.
    This cake can be baked in an oven at 160-170 deg. C for about 20-25 minutes or till done.
    People could not believe that there are no eggs, no butter in the cake, but how come it is soft !

     For my other blogs, I'm giving the links below, feel free to view and comment too.

    https://cancersupportindia.blogspot.com. for all cancer and health related topics
    https://gseasyrecipes.blogspot.com. feel free to view for easy, simple and healthy recipes
    https://kneereplacement-stickclub.blogspot.com. for info on knee replacemen
    t

    Saturday, December 22, 2018

    Egg-less Orange Cake

    INGREDIENTS
    banana 1 small
    oranges 2- remove seeds, skin, pith and out in a vessel
    maida/ all purpose four  1/2 cup
    wheat flour 1/2-3/4 cup
    baking pdr. 1 tsp
    baking soda 1/2 tsp
    butter milk  1/2 cup
    coconut oil  1 tbsp
    ghee/ butter for greasing
    all spice pdr.  1/4 tsp
    badam milk essence or add orange essence 1/2 tsp
    brown sugar  3/4 cup
    salt little
    nuts 3 tbsp optional

    METHOD
    mash banana well, add sugar, buttermilk, orange bits, mix well
    sieve flours with baking pdr., baking soda, salt well
    slowly add the flour to the wet ingredients, mix well, till all the flour is over.
    add oil, if need be add more butter milk or milk or flour depending on the batter consistency.
    add spice pdr., essence, I added some finely chopped cashew nuts, mix well
    I divided the batter into 2 parts, spread in 2 greased microwaveable plates
    on micro power high baked each for 5 minutes, but it depends on the voltage too. OR
    you can bake in your normal OTG or conduction microwave as one lot too.
    As I've to share my cakes with many people, I prefer to bake in 2 parts.
    Everyone loved it, sorry as my laptop is giving me problem to load photos from my camera.

    Though I added wheat flour, it had come soft and people couldn't believe that it had no eggs, no butter and there was atta in it ! Honestly, I never measure my ingredients, just keep everything near by and keep adding it as I like ! My cakes are mildly sweet only, as I don't like my desserts to be too sweet.

    For my other blogs, I'm giving the links below, feel free to view and comment too.

    https://cancersupportindia.blogspot.com. for all cancer and health related topics
    https://gseasyrecipes.blogspot.com. feel free to view for easy, simple and healthy recipes
    https://kneereplacement-stickclub.blogspot.com. for info on knee replacemen
    t

    Saturday, October 20, 2018

    Healthy egg-less Carrot Cake

    INGREDIENTS

    1) bananas mashed roughly 1/2-3/4 cup ( I had 4 small bananas, which were over-ripe, real small bananas, may be equal to little more than 1 big green banana that you get in US and UK)

    2) curd roughly 1/2 cup
    3) milk  1/2 cup
    4) sugar  3/4 cup or to taste
    5) whole wheat flour roughly 2 cups or little less
    6) baking pdr. 1 tsp
    7) baking soda 1/2 tsp
    8) all spice 1/4 tsp
    9) cinnamon pdr. 1/2 tsp
    10) salt wee bit
    11) carrot grated  1/2 cup
    12) ghee/ butter  1 tbsp
    13) coconut oil  1 tbsp
    14) cashew nuts finely chopped 2 tbsp

    METHOD
    first mash the bananas well with sugar, ghee and coconut oil

    add milk and curd, beat well
    add baking pdr. and baking soda, salt beat well
    add flour little at a time, beat well, then add flour till the consistency is slightly thinner than the normal cake batter if you're going to bake in microwave, in case you're baking in normal oven like any other cake batter
    add the spice powders and nuts, beat well
    I wanted to share with lots of people, so I divided the batter in half, poured in 2 micro-safe glass containers and baked each one for 6 minutes in full power in normal microwave not convection one !
    once it was done, after a minute, I opened the door to check, when it was done, I kept it aside to cool a bit, while I baked the 2nd one.
    In case you're baking in an oven, bake in pre-heated oven at 180 deg. C for about 25-30 minutes, but again, it depends on the size, power and so on, anyway, after 20 minutes, be alert to check.
    It had come really soft and everyone I shared it with liked it.

    I'm sorry folks, that I never measure my ingredients, just keep the ingredients next to me and keep adding as I like, but it should be closer to the measurements that I mentioned. Luckily, by God's grace I'm saved when I bake !
    The last few pieces that are left now, as some more people are always wanting to eat the cake I bake !

    For my other blogs, I'm giving the links below, feel free to view and comment too.
    https://cancersupportindia.blogspot.com. for all cancer and health related topics
    https://gseasyrecipes.blogspot.com. feel free to view for easy, simple and healthy recipes
    https://kneereplacement-stickclub.blogspot.com. for info on knee replacemen

    Sunday, July 10, 2016

    gluten-free and egg-less carrot cake


    Ingredients
    5 tbsp of cooked chickpeas water ( used it instead of eggs)
    oil 2 tbsp
    baking pdr. 1/2 tsp
    carrot grated   2 tbsp
    oats pdr. 1 cup ( i'll put the pic. of my little cup/ katori as we call in India)
    millet pdr.  1/2 cup
    palm sugar  1/2 cup / brown sugar/ cane sugar/ normal sugar/ sugar free ( whatever you like, but I now prefer palm sugar, as it is less sweetening !)
    all spice pdr.  1/2 tsp


    Method
    beat together sugar, chickpeas water well, add oil, beat well
    add carrot, the oats and millet pdr., spice pdr. mix well
    pour into a greased pan and I microwaved for 6 minutes( normal microwave oven)
    in case you're going to bake in the normal oven, pre-heat to 170 deg. and bake for roughly 15-20 minutes, it will depend on the size and power too.


    Being health conscious, I don't like to decorate with icing or dust with more sugar, I love to eat them plain and hot !


    those interested in cancer and health related topics are free to see my blog-
    http://cancersupportindia.blogspot.com/
     for crochet designs, my blog, those who like a particular design are free to mail me

    http://My Crochet  Creations.blogspot.com

    For info. about knee replacement, be free to view my blog-

    http://knee replacement-stickclub.blogspot.com