Ingredients
- 1
- 2
-
METHOD
Step 1 :
To begin with, wash guavas thoroughly and chop them roughly. Take a deep skillet, add water and bring it to a boil.Step 2 :
Add chopped guava pieces to the boiling water and cook for at least 10 minutes or until the guava is soft and mushy. Make a thick pulp by mashing it thoroughly.Step 3 :
Pour the mashed pulp into a large strainer. Gently press the guava mixture in the sieve to separate the guava skin and seeds from the pulp. Set aside.Step 4 :
Add the guava pulp, sugar, lemon juice, and salt to a pan. Make sure you add pulp and sugar in an exact 1:1 ratio. Cook for at least 15 minutes over medium heat to achieve a jelly-like consistency, and the mixture leaves the sides of the pan.Step 5 :
Once done, transfer it to a greased plate or tray and let it cool. Cut the guava slices into desired shapes and serve.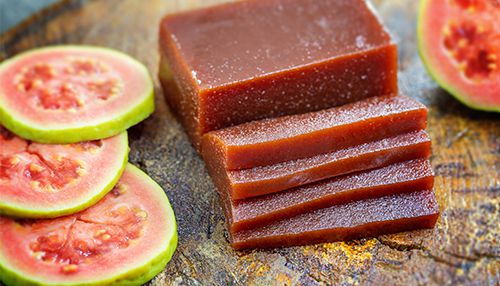
https://gscrochetdesigns.blogspot.com. one can see my crochet creations
https://cancersupportindia.blogspot.com. feel free to view for easy, simple and health tips
https://kneereplacement-stickclub.blogspot.com. for info on knee replacement
https://cancersupportindia.blogspot.com. feel free to view for easy, simple and health tips
https://kneereplacement-stickclub.blogspot.com. for info on knee replacement
https://GSiyers home remedies.blogspot.com is the latest addition to my blogs.