Box graters are often overlooked in favor
of flashier kitchen gadgets. However, they are actually a versatile tool
that can be used for a variety of tasks, such as making homemade pasta,
breadcrumbs, and even rice from cauliflower. However, despite having
four sides, three of them are often neglected. To maximize the potential
of your box grater, try out some of these innovative suggestions.
1. Make breadcrumbs
1. Make breadcrumbs
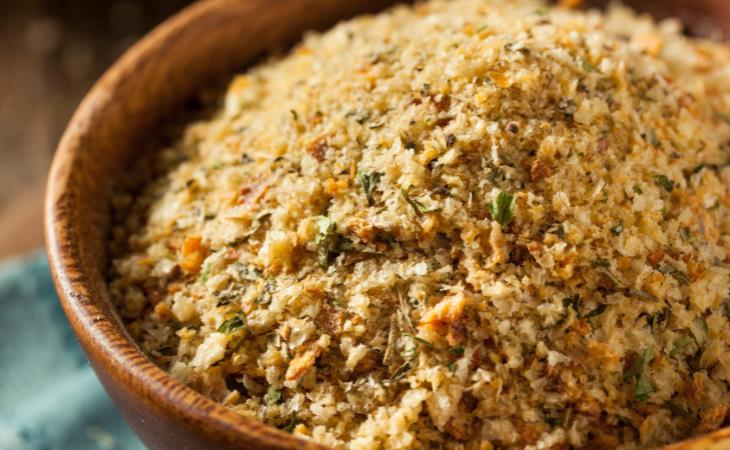
To quickly get bread crumbs, toast and
grate slices of bread. The result is an uneven mixture of breadcrumbs,
similar to the expensive panko breadcrumbs found in supermarkets. This
technique is very useful for using stale bread as well. For extra
flavor, toss the shredded bread with olive oil, sea salt, and a smashed
garlic clove before sautéing in a skillet over low heat until golden
brown.
2. De-stem your herbs
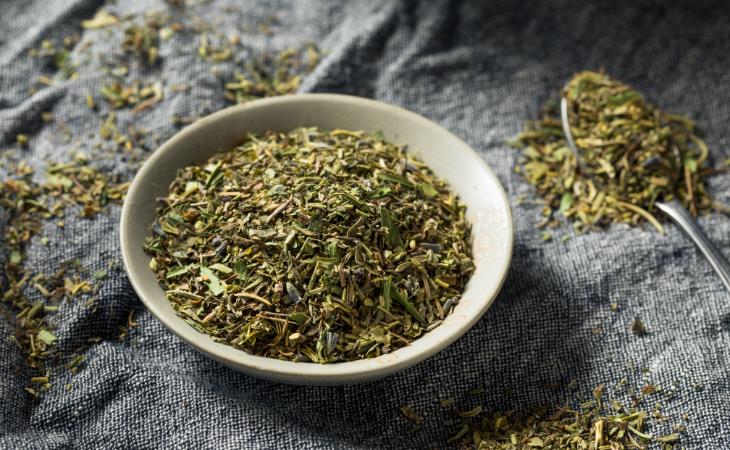
Gently insert the herb stems into the
biggest holes and pull through. The grater's sharp blades will strip the
leaves from the stems, leaving you with neatly de-stemmed herbs ready
to use in your culinary masterpieces.
3. Chop chili
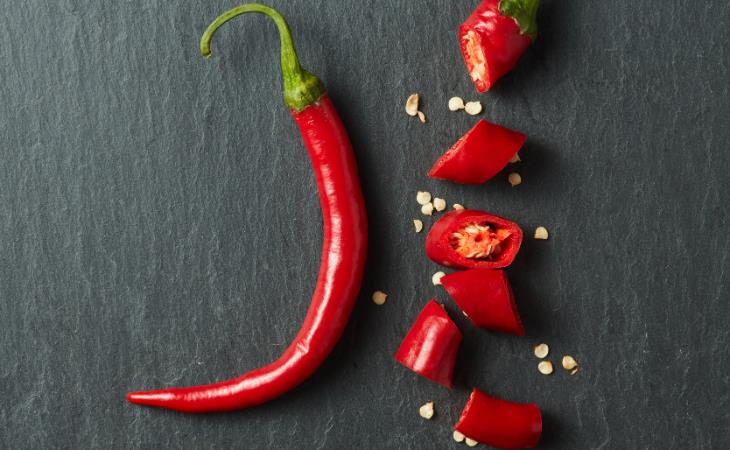
To prevent spicy fingers, try freezing your
chili peppers and grating them directly into your dishes. This method
preserves their freshness and prevents the chili oils from coming into
contact with your skin or cutting boards.
4. Chocolate for melting and garnish
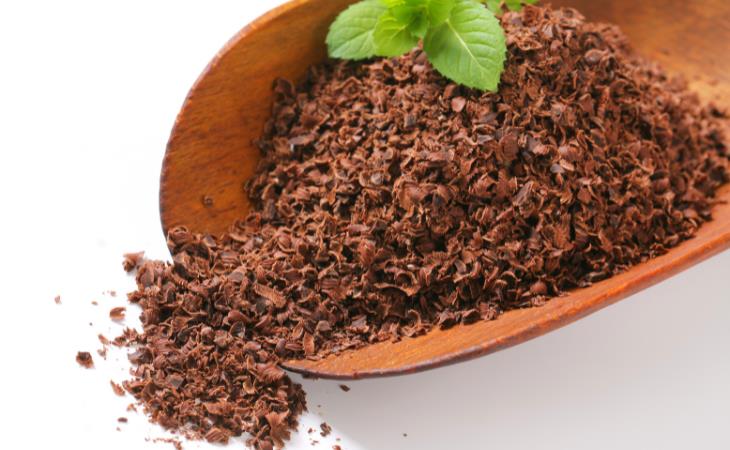
For makeshift sprinkles, grate chocolate
using the medium holes of your box grater, and for curls, use the
slicing side. When melting large chocolate chunks in a double boiler,
there's a chance of overheating the already-melted portion while the
rest is still melting. Grating the chocolate with a box grater ensures a
consistent melting.
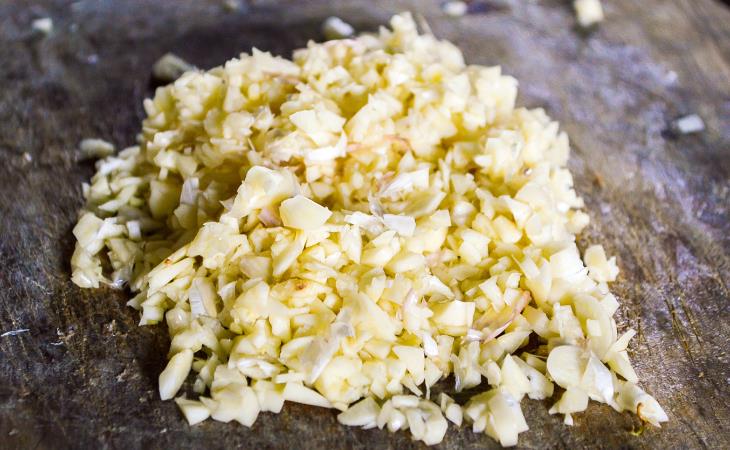
5. Mince garlic
Garlic is a common ingredient used in many
recipes. Depending on the recipe, garlic can be used whole, crushed,
sliced, or finely minced. Most dishes require finely minced or chopped
garlic since it boosts the garlic's flavor. To save time and minimize
cleanup, you can use a box grater with medium-sized holes to get the
perfect garlic consistency. This technique allows you to regulate the
amount of garlic added to your dish and ensure precise seasoning without
distracting you from cooking.
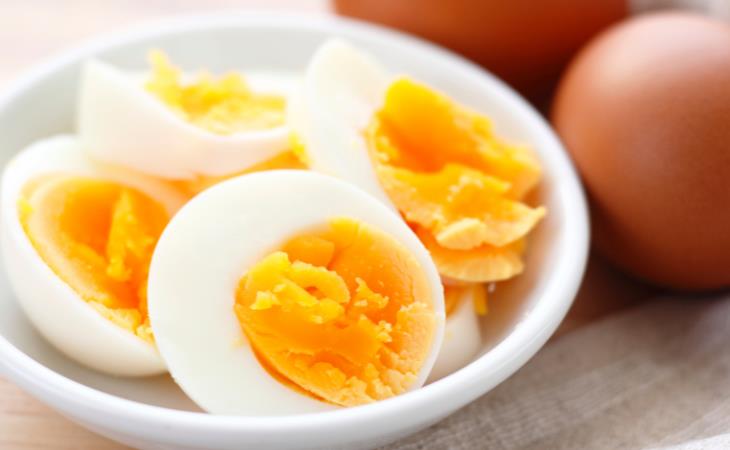
6. Crumble hard-boiled eggs
Hard-boiled eggs are versatile and easy to
cook. They are great for chopping into egg salad or separating the yolks
to make deviled eggs. A box grater is a helpful tool for this task.
Instead of slicing with a knife or your hands, shredding hard-boiled
eggs on the coarse side of the grater results in fluffier egg parts that
combine well with other components. Using a grater also keeps the eggs
from becoming crushed and instead preserves their airy texture.
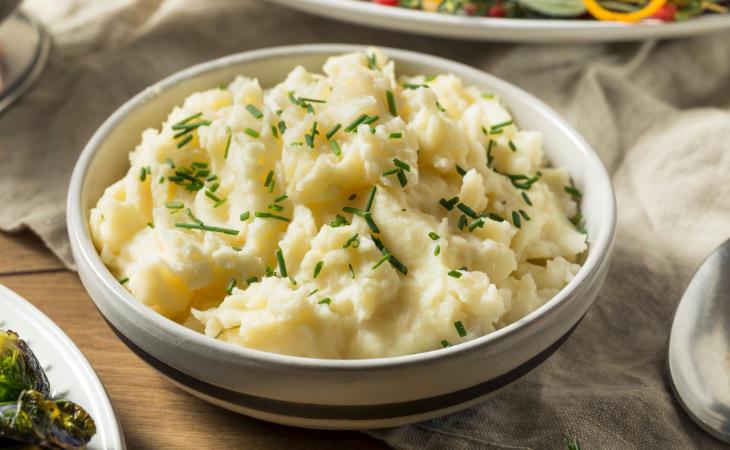
7. Mashed potatoes
If you would like to achieve impeccably
fluffy mashed potatoes, experts suggest employing a potato ricer.
However, if a potato ricer isn't on hand, a box grater can be a viable
alternative.
To mash potatoes using a box grater, first boil the peeled potatoes
until soft. Then, using the big holes on the box grater, grate the
cooked potatoes into a bowl. Finally, whisk in the butter, milk, salt,
and pepper to taste until the appropriate consistency is reached.
8. Zesting citrus
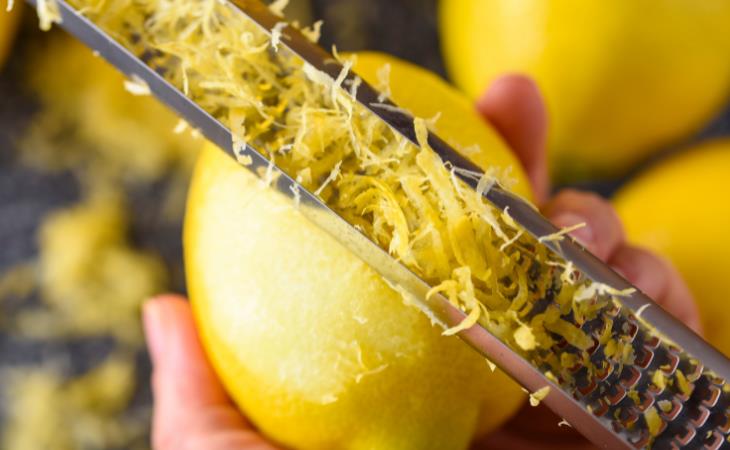
Have a recipe that calls for lemon zest?
Why not use your box grater? Start by washing and drying the lemon
thoroughly. Next, brush the lemon against the box grater's finer side,
turning as required to prevent shredding the bitter white pith. Collect
the zest and use it to add bright citrus flavor to your dishes.
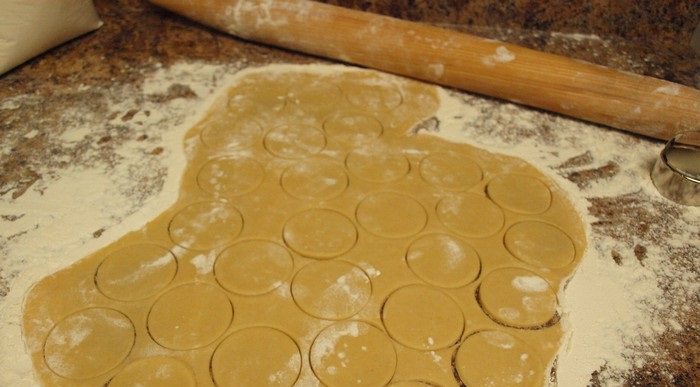
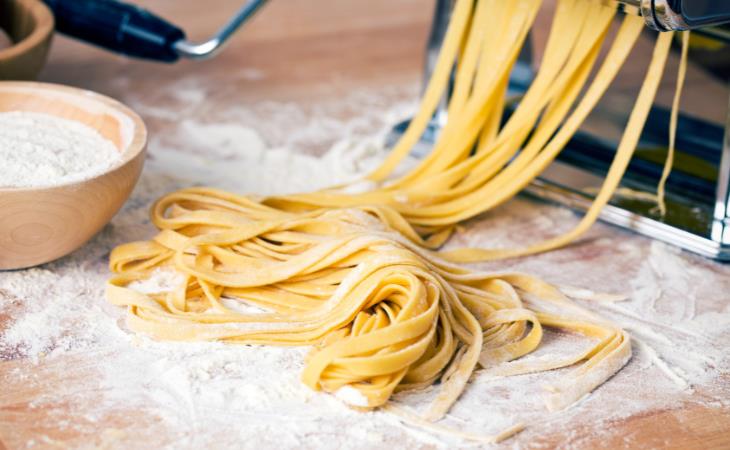
9. Make homemade pasta
Making pasta at home may appear difficult
at first, but worry not—your box grater can be your secret weapon for
easing the process. Making sophisticated pastas such as ravioli or
linguini may be difficult, but grating the resting pasta dough through
the bigger holes can provide a rustic alternative. This approaches dough
and gives an easy way to make fresh pasta.
Simply grate, cook to your liking, and combine with your favorite
spaghetti sauce for a handmade treat directly from the kitchen. While
the finished pasta may not be in your chosen form, the experience will
provide you with vital practice for future projects.
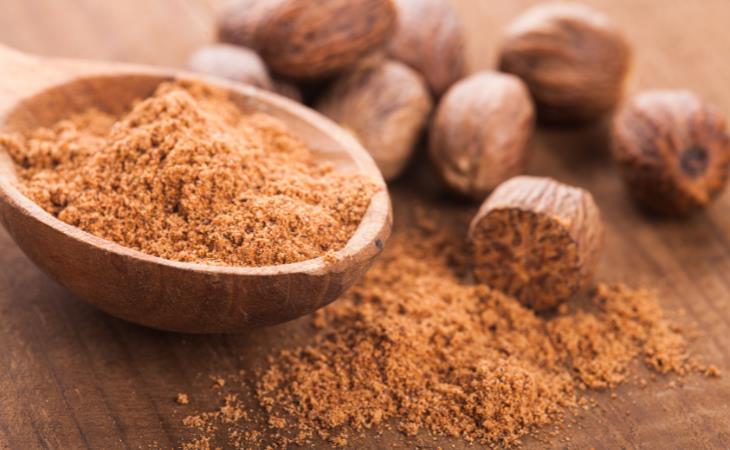
10. Enhance spices
While pre-ground, factory-sealed spices
from the store are cupboard essentials, freshly ground spices take them
to another level. Not only do freshly ground spices enhance flavor, but
they also maintain freshness for longer periods and can be purchased in
bulk for cost savings. Spices such as whole cinnamon sticks, nutmeg,
cardamom pods, and ginger root can be easily grated
Typically, these spices are mixed with other ingredients, but they can
also be used as a simple, aromatic, and tasty garnish. For instance, a
sprinkle of nutmeg can enhance the flavor of a latte, while cinnamon
adds warmth to various dishes. When grinding fresh spices, use the
smaller or smallest-holed side of the grater for best results.
11. Puree tomatoes
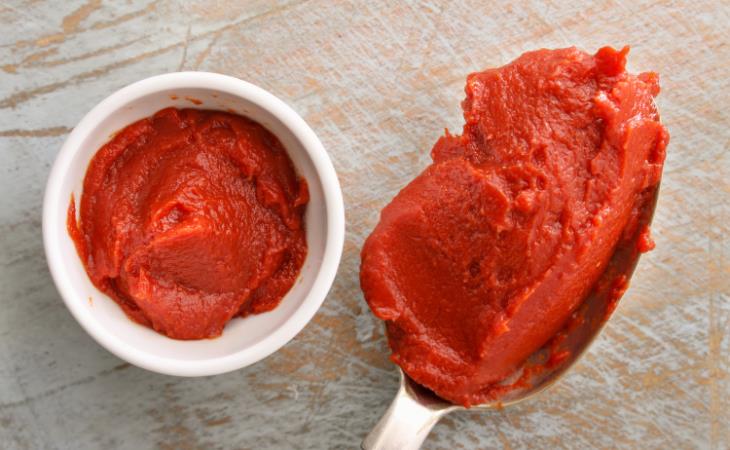
Peeling and deseeding tomatoes can be a
time-consuming chore for making tomato puree. However, there's a simpler
method: using a box grater to grate them raw. Start by slicing the
tomato in half, then carefully rub the exposed side against the larger
perforations until all that remains is the skin. Now you will get a bowl
full of vibrant raw tomato pulp. For a quick summer sauce, season with
garlic, basil, salt, pepper, and a dab of olive oil. It's ideal for
topping bruschetta or adding to your favorite cooked tomato sauce
recipe.
12. Grating root vegetables
Grating roots can add thickness to soups
and sauces, or you can simply incorporate them into meals if you do not
enjoy eating vegetables. When it comes to raw veggies, grating enhances
their texture. Consider grating raw beets directly onto salads for added
crunch.
https://gscrochetdesigns.blogspot.com. one can see my crochet creations
https://cancersupportindia.blogspot.com. feel free to view for easy, simple and health tips
https://kneereplacement-stickclub.blogspot.com. for info on knee replacement
https://GSiyers home remedies.blogspot.com is the latest addition to my blogs.