those interested in cancer and health related topics are free to see my blog-
http://cancersupportindia.blogspot.com/
for crochet designs, my blog, those who like a particular design are free to mail mehttp://My Crochet Creations.blogspot.com
For info. about knee replacement, be free to view my blog-
http://knee replacement-stickclub.blogspot.com


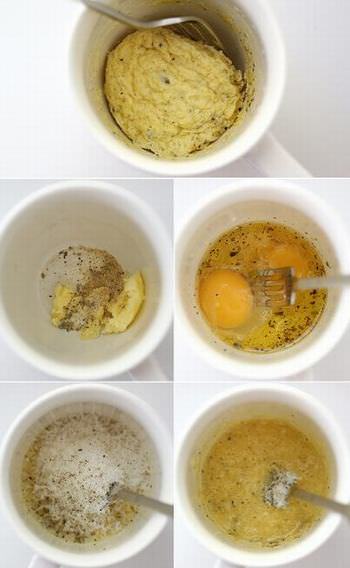
kidney beans/ rajma cooked after soaking overnight 1 cup
breadcrumbs 1 cup
onion 1 big
asafoetida 1/4 tsp
green chilies 3-4 or as per taste
salt to taste
oil for shallow frying
garlic pearls 2-3 ( optional)
coriander leaves finely chopped 2 tbsp
grind first garlic, onion, chilies, add kidney beans, grind with asafoetida
put all the ground ingredients in a bowl, add breadcrumbs, salt and coriander leaves, mix well
heat a non-stick pan , add 2-3 tsp oil, make cutlets, as flat as possible, shallow fry on low flame toll brown on both sides, adding little more oil, serve hot with chutney/ ketchup


 I made this for Diwali

 Broccoli
is one of the healthiest vegetables you can eat, but most of us throw
away the plant's leaves and stems despite the fact that they contain as
many if not more nutrients than the parts we eat! Broccoli leaves are
absolutely packed full of vitamin A, fantastic for good vision, cancer
prevention and anti-ageing. And there's no reason to throw these leaves
away because they're perfectly edible! You can cook them like you'd
cook cabbage or chop them up and stir fry them with green onions, meats
or what ever ingredients you desire.
Broccoli
is one of the healthiest vegetables you can eat, but most of us throw
away the plant's leaves and stems despite the fact that they contain as
many if not more nutrients than the parts we eat! Broccoli leaves are
absolutely packed full of vitamin A, fantastic for good vision, cancer
prevention and anti-ageing. And there's no reason to throw these leaves
away because they're perfectly edible! You can cook them like you'd
cook cabbage or chop them up and stir fry them with green onions, meats
or what ever ingredients you desire. 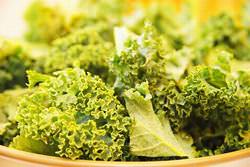 Though
the majority of us throw kale stalks away, they are packed with loads
of nutrition and there are plenty of recipes you can follow to put them
to good use. Consider steaming the stalks for 10 minutes (after cleaning
them), and then fry them in sunflower oil with chilli and garlic. You
will get a delicious meal that will provide plenty of fiber and help
cleanse your digestive system. If you don't have kale, broccoli stalks
work just as well!
Though
the majority of us throw kale stalks away, they are packed with loads
of nutrition and there are plenty of recipes you can follow to put them
to good use. Consider steaming the stalks for 10 minutes (after cleaning
them), and then fry them in sunflower oil with chilli and garlic. You
will get a delicious meal that will provide plenty of fiber and help
cleanse your digestive system. If you don't have kale, broccoli stalks
work just as well!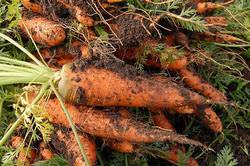 You
can eat carrots with the peel on, but many of you probably peel them
before boiling or roasting and discard the outer skin. However, this
peel is full of goodness that can work wonders for you if you add it to
your regular care and beauty regimen. Carrot oil can protect both your
skin and hair from the effects of the sun and pollution, ward of dreaded
signs of ageing and create silky smooth hair. Here's how you make it:
You
can eat carrots with the peel on, but many of you probably peel them
before boiling or roasting and discard the outer skin. However, this
peel is full of goodness that can work wonders for you if you add it to
your regular care and beauty regimen. Carrot oil can protect both your
skin and hair from the effects of the sun and pollution, ward of dreaded
signs of ageing and create silky smooth hair. Here's how you make it: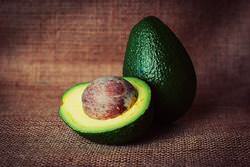 The
health benefits of eating avocados are plentiful, but most us throw
away the most nutritious part of this delicious fruit. The seed (also
known as the stone or pit) contains around 70% of an avocado's
nutritional value yet typically ends up in the trash can. It might look
inedible, but it isn't - you just need to do some prep work. Chop it
into quarters using a sharp knife or other tool and then blend it until
it's a powder. You need to use a powerful blender and make sure it is
completely enclosed. The resulting powder will be strong tasting, so mix
it in well with a berry or citrus fruit smoothie to benefit from an
incredible amount of nutrition!
The
health benefits of eating avocados are plentiful, but most us throw
away the most nutritious part of this delicious fruit. The seed (also
known as the stone or pit) contains around 70% of an avocado's
nutritional value yet typically ends up in the trash can. It might look
inedible, but it isn't - you just need to do some prep work. Chop it
into quarters using a sharp knife or other tool and then blend it until
it's a powder. You need to use a powerful blender and make sure it is
completely enclosed. The resulting powder will be strong tasting, so mix
it in well with a berry or citrus fruit smoothie to benefit from an
incredible amount of nutrition! Potato
skins can be eaten of course, but if you are boiling or roasting the
veggies, then you will need to remove the skin first. The discarded peel
does have its uses - and one great way you can put it into action is to
rub it across a wart or skin tag to gradually diminish growth.
Potato
skins can be eaten of course, but if you are boiling or roasting the
veggies, then you will need to remove the skin first. The discarded peel
does have its uses - and one great way you can put it into action is to
rub it across a wart or skin tag to gradually diminish growth.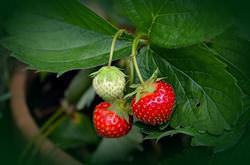 Strawberry
leaf tea is available in some health stores, but is just as easy to
make yourself if you have the leaves at hand, having bought a full
strawberry plant or grown one yourself. Strawberry leaves have been
found to be even more successful than herbs like chamomile and rosehip
in fighting dangerous free radicals in the body and drinking them in tea
can also help settle an upset tummy. All you need to do to make the tea
is:
Strawberry
leaf tea is available in some health stores, but is just as easy to
make yourself if you have the leaves at hand, having bought a full
strawberry plant or grown one yourself. Strawberry leaves have been
found to be even more successful than herbs like chamomile and rosehip
in fighting dangerous free radicals in the body and drinking them in tea
can also help settle an upset tummy. All you need to do to make the tea
is: Finally,
did you know that you can actually re-grow a lot of vegetables yourself
using the scraps that you would usually throw away? In general, it's
really easy to do and you don't need any special skills or equipment -
just a little patience can theoretically provide you with an ongoing
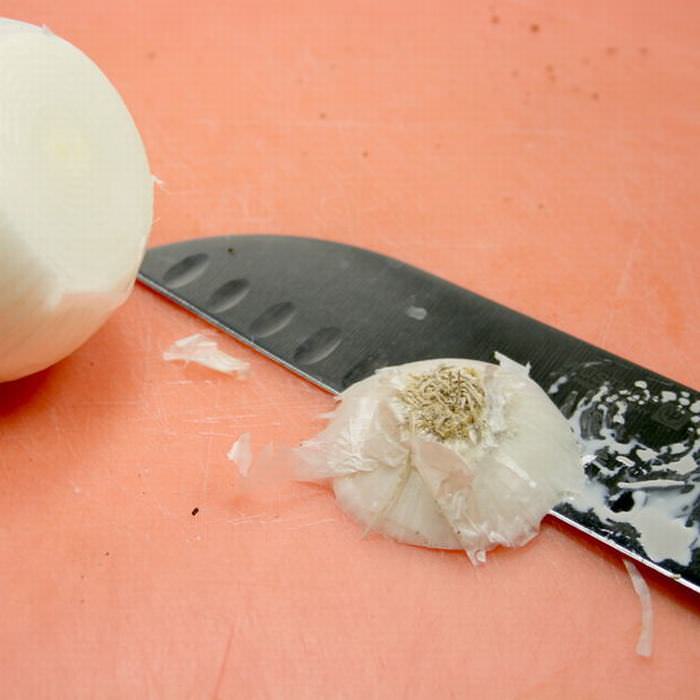
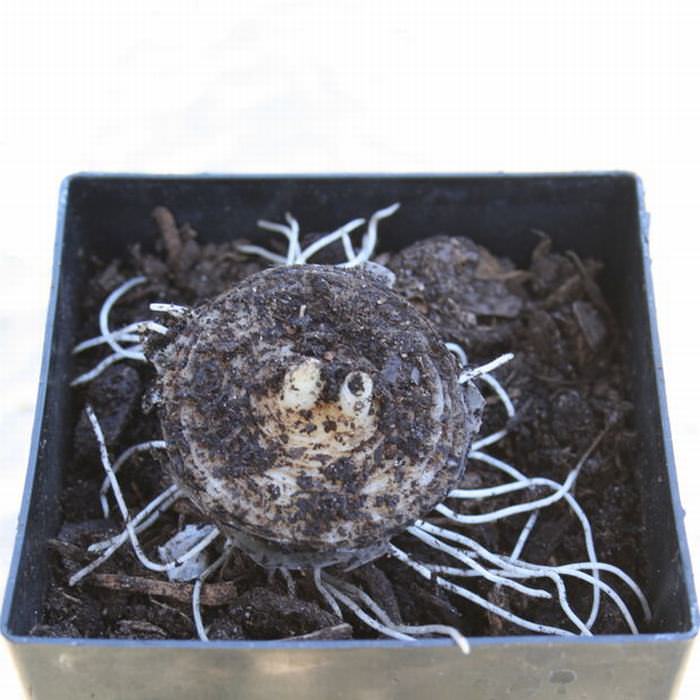
supply of green onions, romaine lettuce or celery, for example. Onions
are so wonderfully versatile, and if you save the hard root at bottom of
the vegetable next time you chop one up, you can easily plant it to
grow some more.
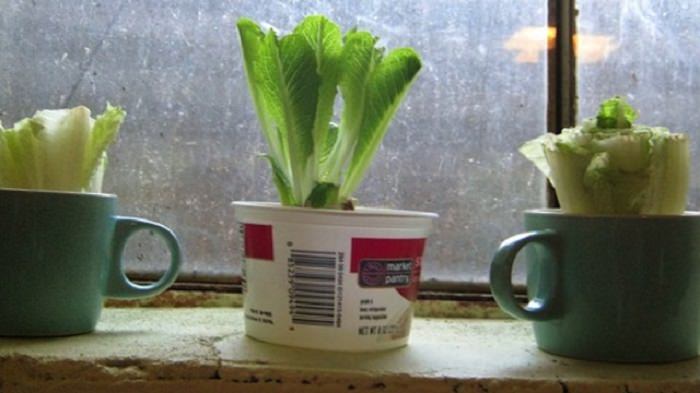
Finally,
did you know that you can actually re-grow a lot of vegetables yourself
using the scraps that you would usually throw away? In general, it's
really easy to do and you don't need any special skills or equipment -
just a little patience can theoretically provide you with an ongoing
supply of green onions, romaine lettuce or celery, for example. Onions
are so wonderfully versatile, and if you save the hard root at bottom of
the vegetable next time you chop one up, you can easily plant it to
grow some more.
