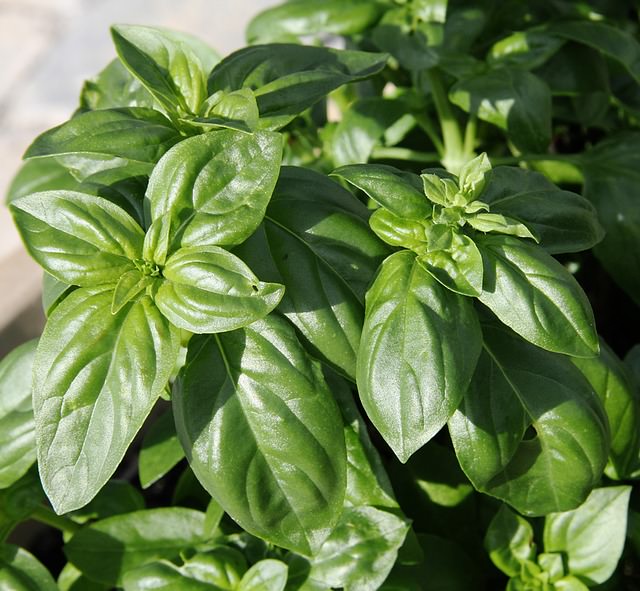
| Herbs are some of the best things you
can grow around your house and garden. They are mostly easier to grow
then many kinds of vegetables and fruits and yet they can be just as
healthy and tasty to eat. These are 10 of the easiest, healthiest and
most recommended herbs for you to grow, each with important tips on
where and how to grow them. They are guaranteed to make your food taste
better, your house smell nicer and your overall health better than ever
before. Rosemary: A good for source of iron, calcium, and vitamin B6, rosemary has been found to be helpful with enhancing memory and concentration as well as providing neurological protection. It is an herb that’s perfect to grow in a pot, but not in direct sunlight, so you don't even need to have a garden. Use dry or fresh rosemary to add a great taste to pizzas or baked potatoes. 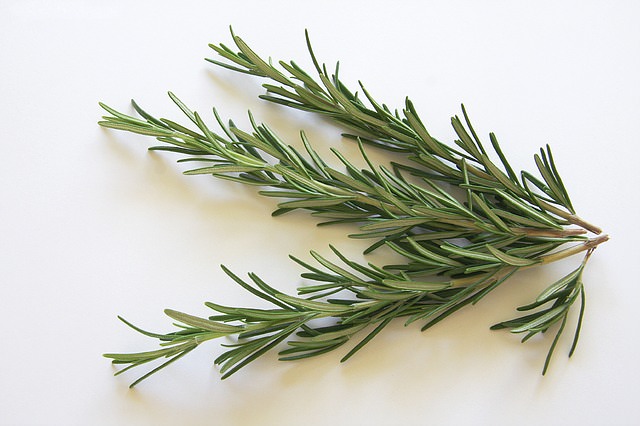 Thyme is a powerful herb that can help you with many types of breast and colon cancer, bacterial infections and skin problems. Thyme is commonly used for the treatment of diarrhea, stomachache, arthritis, sore throat and bronchitis. The plant is very hardy and is easy to grow, it is also safe to harvest without constant fear of the plant dying. It is best used in deep stews and meat marinades. 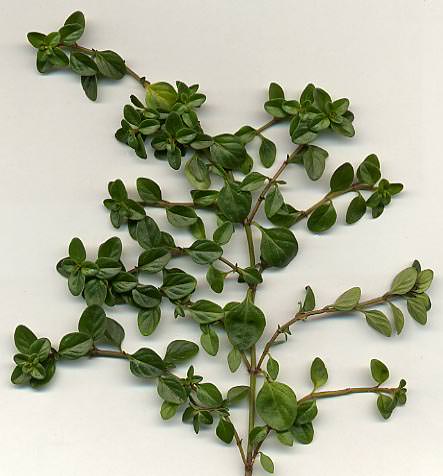 Sage: Sage is used in medicine to help alleviate symptoms of mental disorders such as Alzheimer's and depression. It can also be used to solve digestive problems, improve memory and help type 2 diabetes patients with lowering cholesterol and triglyceride levels. A sage plant requires plenty of sunshine, good drainage and good air circulation. Sage is most often used with poultry and pork but can also be used to flavor cheese. 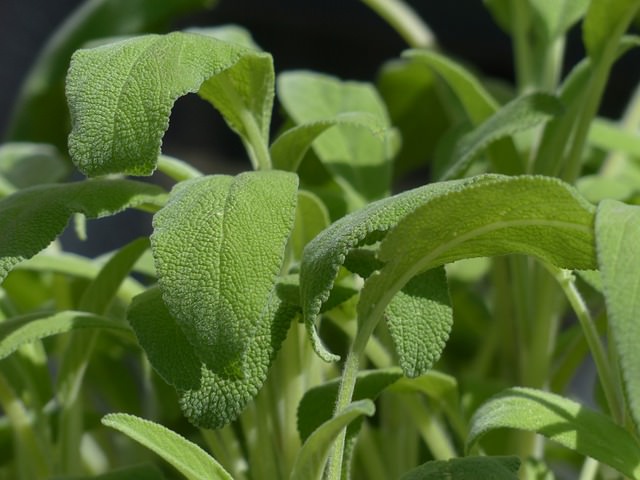 |
|||||||
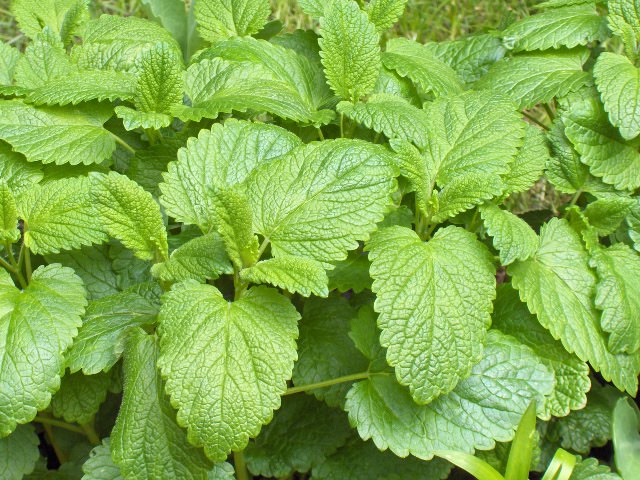
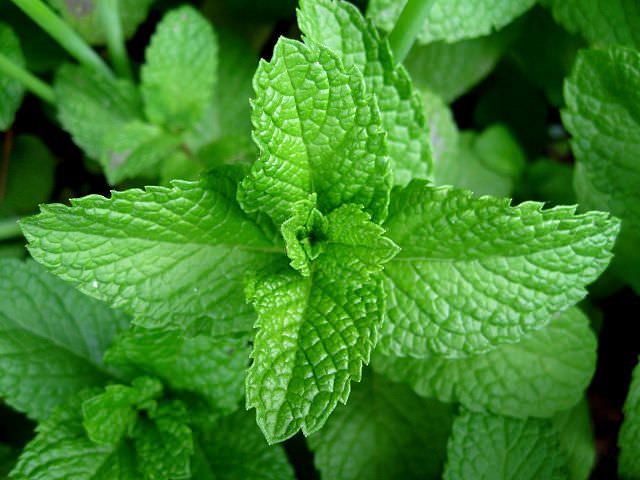
| Lemon Balm:
Many people believe that lemon balm
has calming effects that can reduce anxiety and sleep problems, it is
also used for digestive problems like upset stomach, intestinal gas,
vomiting and colic. This useful plant tends to be naturally pest and
disease resistant, all it really needs is some decent soil, protection
from punishing heat and a regular watering schedule. This herb can be
used for making homemade tea and as a yummy salad addition.
 |
|||||||
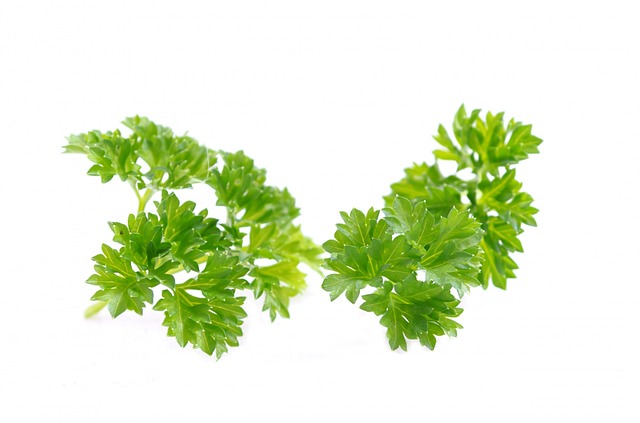
| Parsley:
Parsley contains more vitamin C and K
than basically anything else you eat, it works wonders for people with
kidney stones, gastrointestinal disorders, constipation, diabetes,
cough, and asthma. If you plan on planting some parsley seeds in your
garden do so in moist, rich soil and plant each seed about 7 inches (18
cm) apart. Chop parsley and sprinkle it on any dish you want to add a
little life and color to, it's mild on flavor and yet very refreshing.
|
Friday, November 21, 2014
Health Benefits and Uses for Home-Grown Herbs

Healthy Protein Rich Pancake
Ingredients
besan/ gram flour 1/2 cup
atta/whole wheat flour 1/2 cup
milk and water as needed
moong sprouts or any other sprouts either cooked or plain 1/2 cup
salt to taste
ginger-garlic-green chilli paste 2 tbsp OR you can use finely chopped ginger, green chillies and garlic if desired, which has anti-fungal, anti-bacterial, anti-cancer properties
baking pdr. 1/2 tsp
spring onion finely chopped 1/4 cup or less
fresh coriander leaves/ parsley finely chopped 1 tbsp
Method
mix all the ingredients well, keep aside for at least 10 minutes (you can use only besan or only wheat flour)
heat a non-stick pan, coat lightly with oil, make pancakes, these won't come very thin, once light brown on one side, turn over, add little oil if needed, cook till brown, as it is getting cooked, you can sprinkle some cheese on top, as it will melt or once done on both sides, then sprinkle cheese in between, fold into half and serve hot, either plain or with desired chutney/ ketchup.
Health Tip- this is a very healthy pancake, as sprouts and besan are rick in proteins, also there is cheese and milk, to give you calcium, gives you enough carbs, Vitamin C from coriander leaves and spring onion. So, this can become a complete meal on its own, good to take for packed lunch.
Those interest in health and cancer related topics are free to view my cancer blog-
http://cancersupportindia.blogspot.com/
those interested in cancer and health related topics are free to see my blog-
http://cancersupportindia.blogspot.com/
for crochet designs, my blog, those who like a particular design are free to mail me
http://My Crochet Creations.blogspot.com
For info. about knee replacement, be free to view my blog-
http://knee replacement-stickclub.blogspot.com
http://My Crochet Creations.blogspot.com
For info. about knee replacement, be free to view my blog-
http://knee replacement-stickclub.blogspot.com
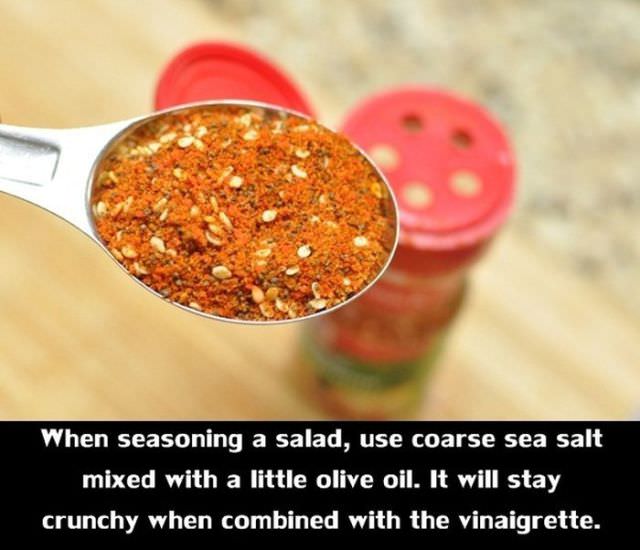
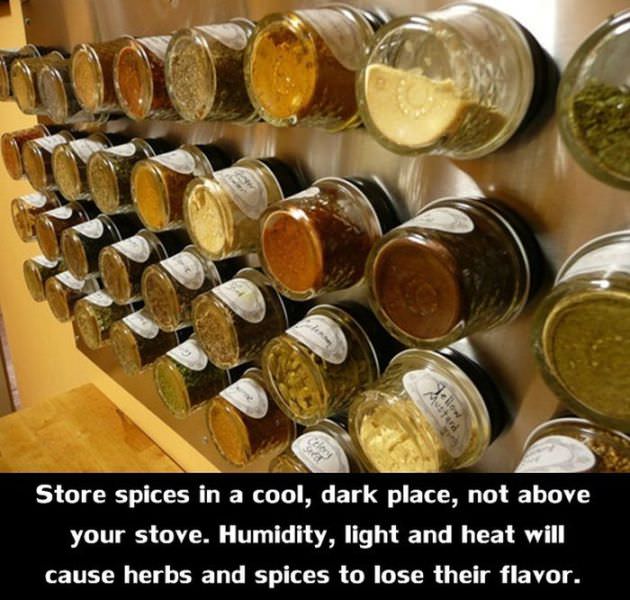
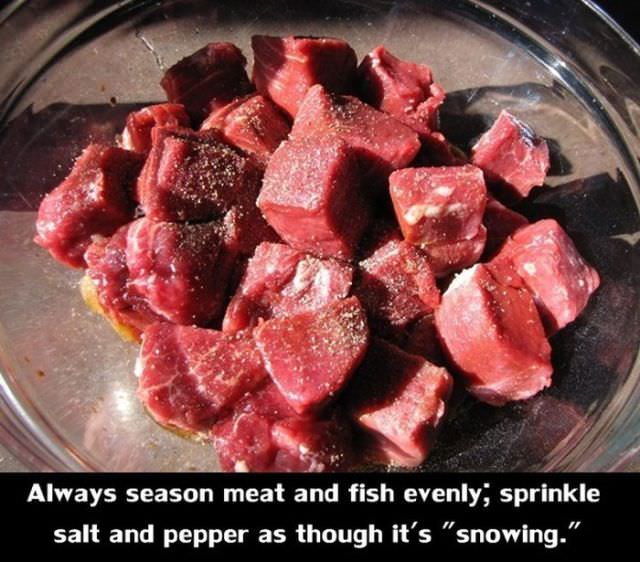
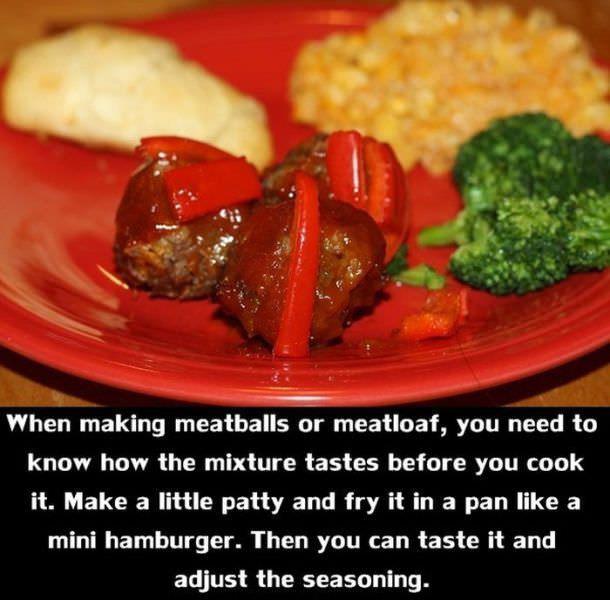
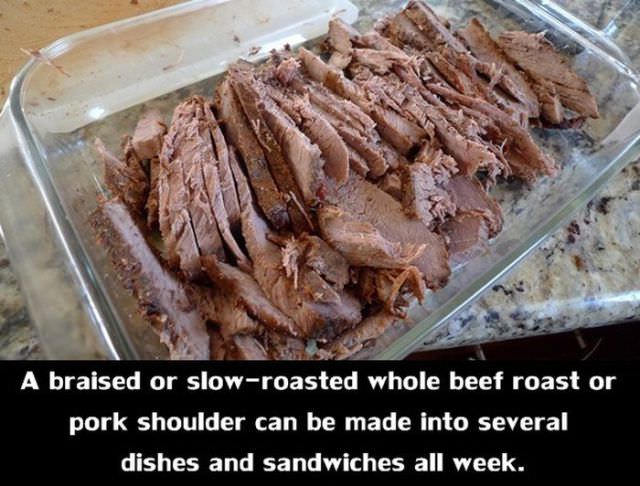
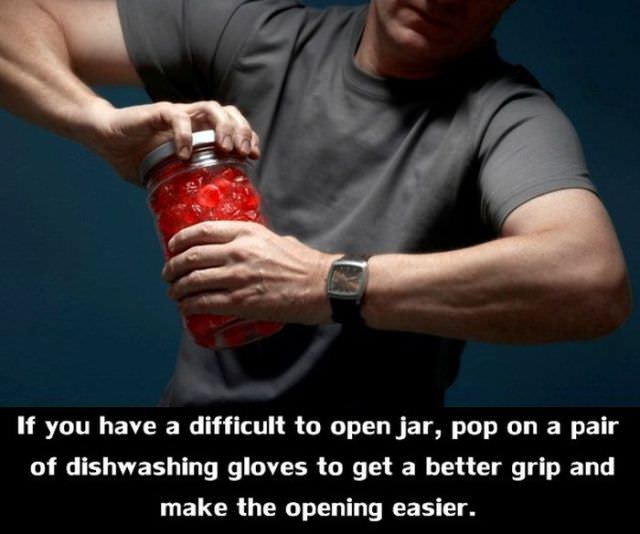
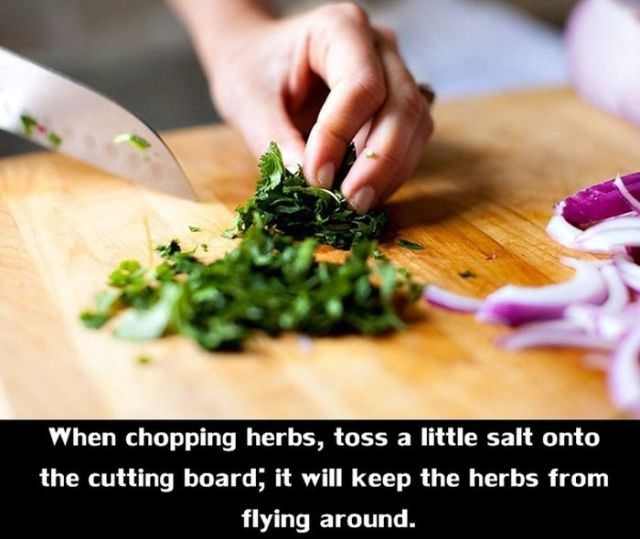
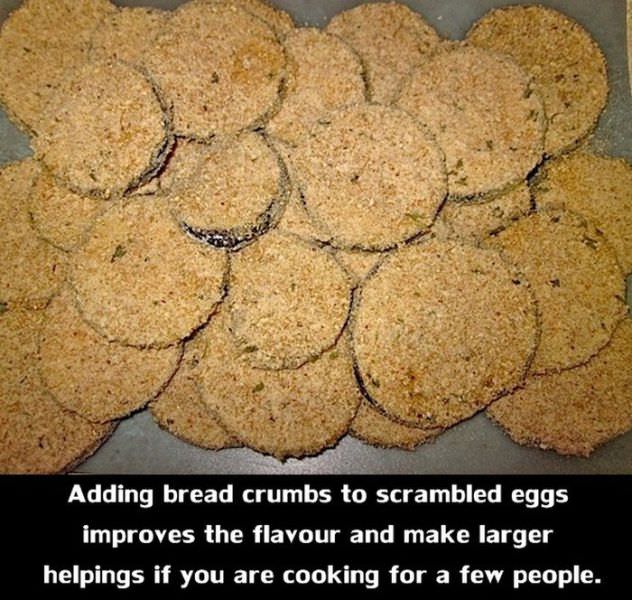
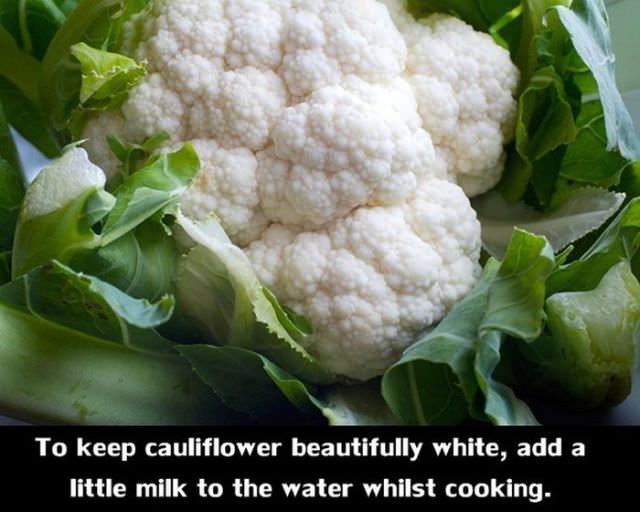
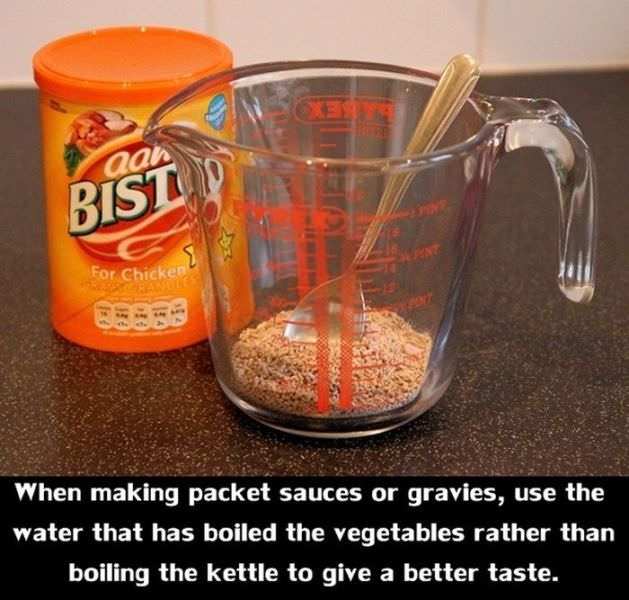
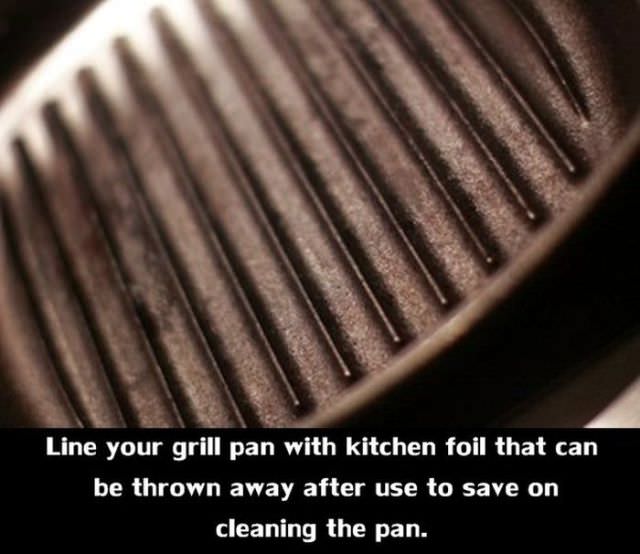
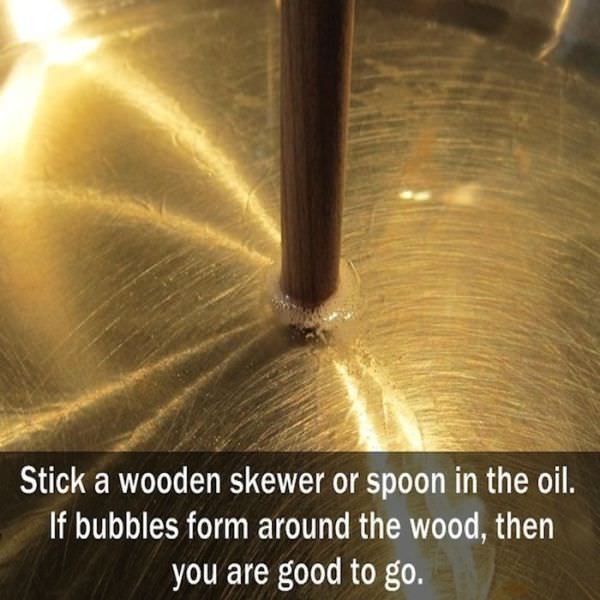
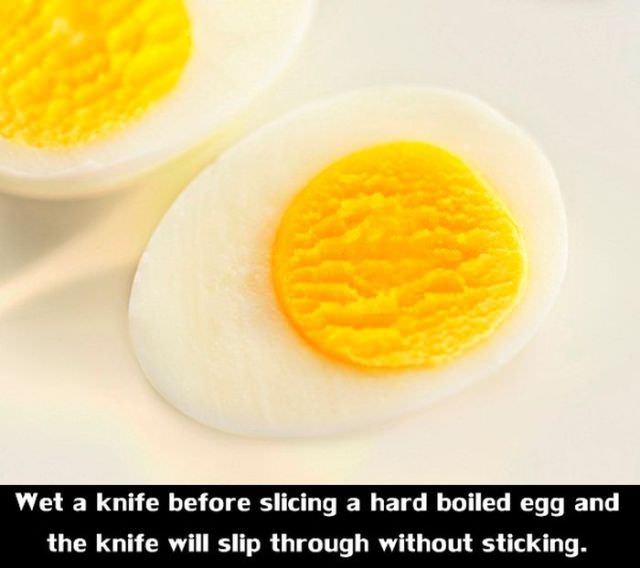
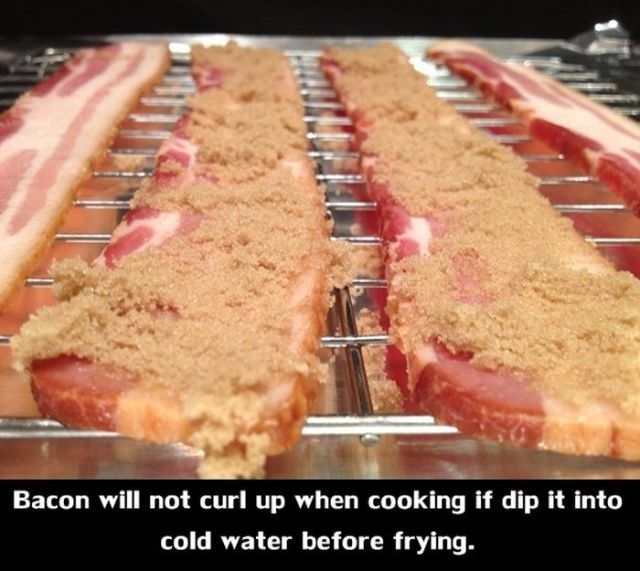
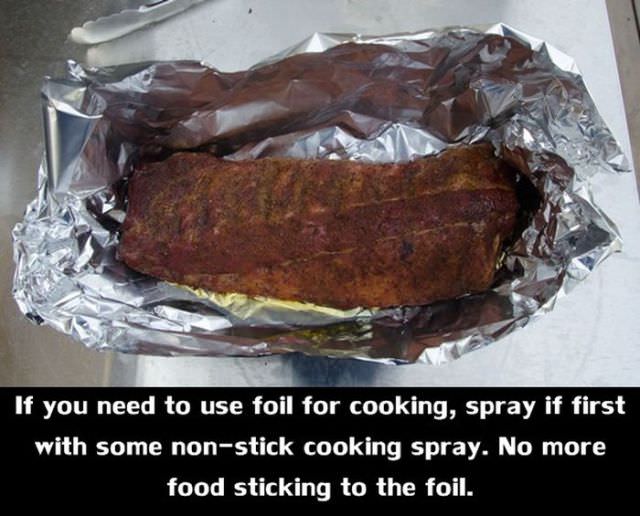
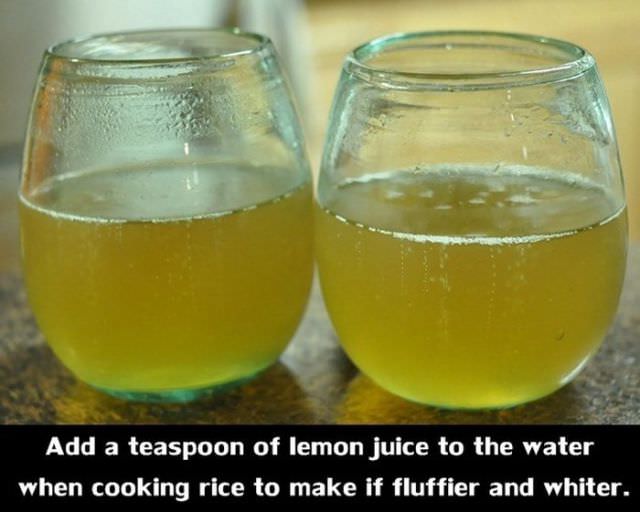
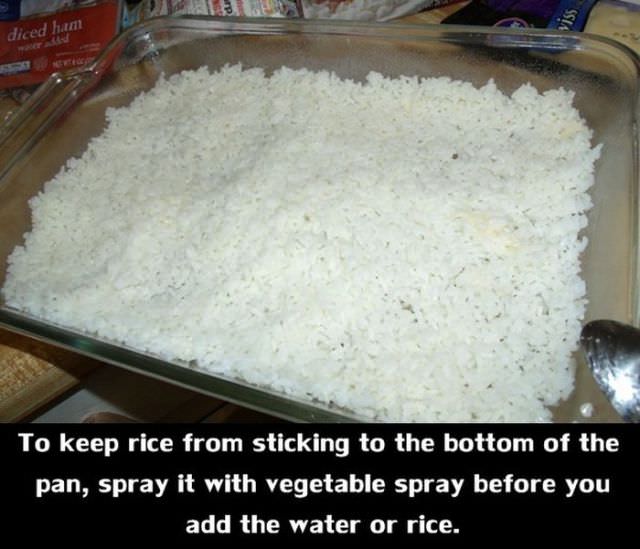
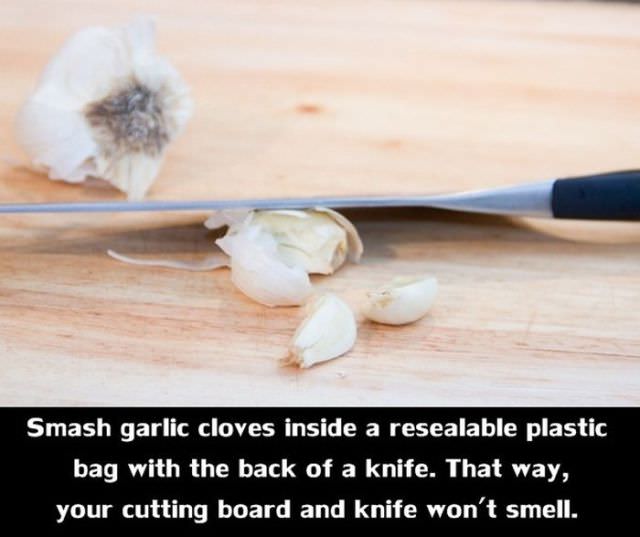
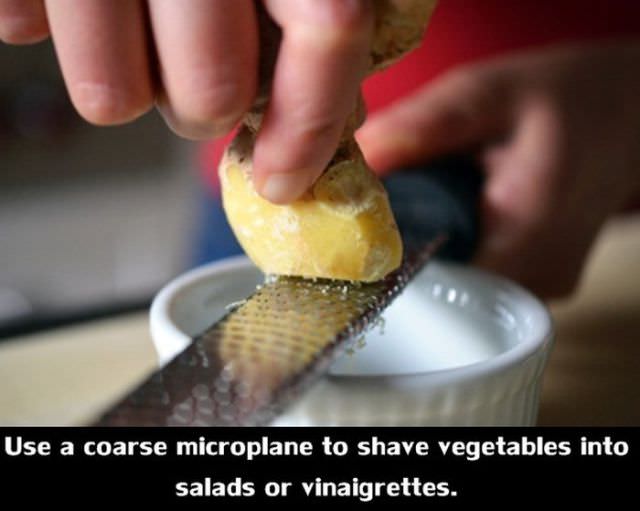
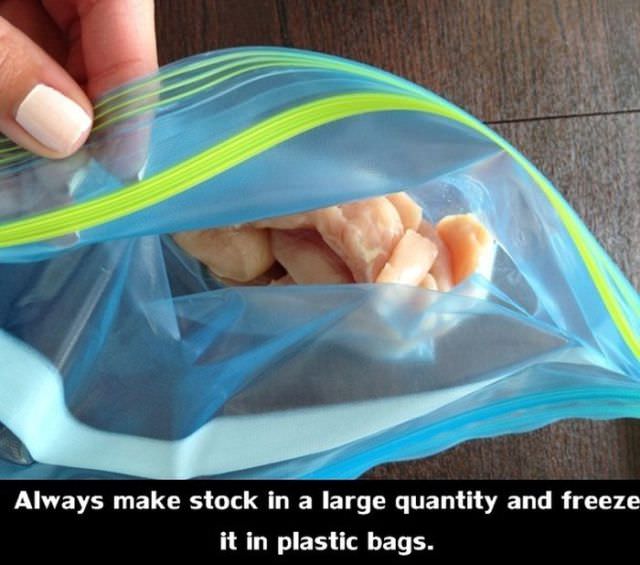
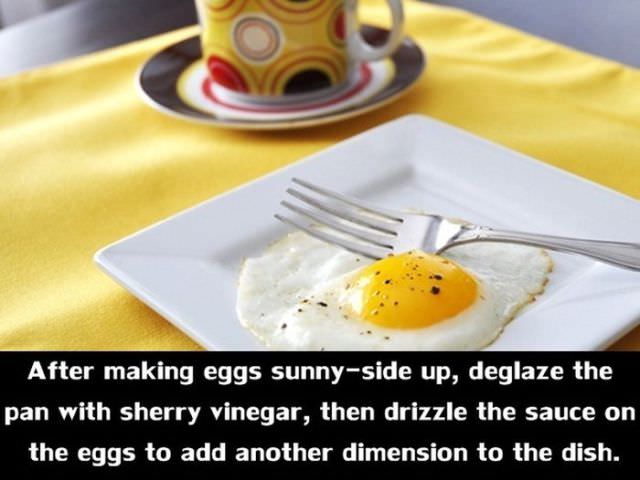
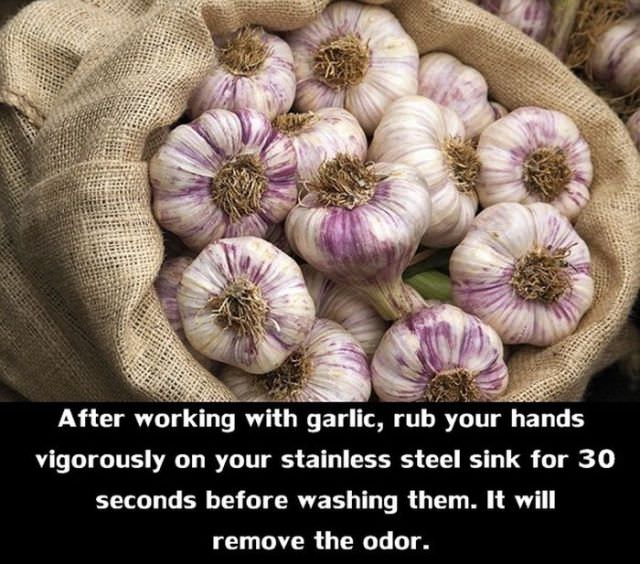
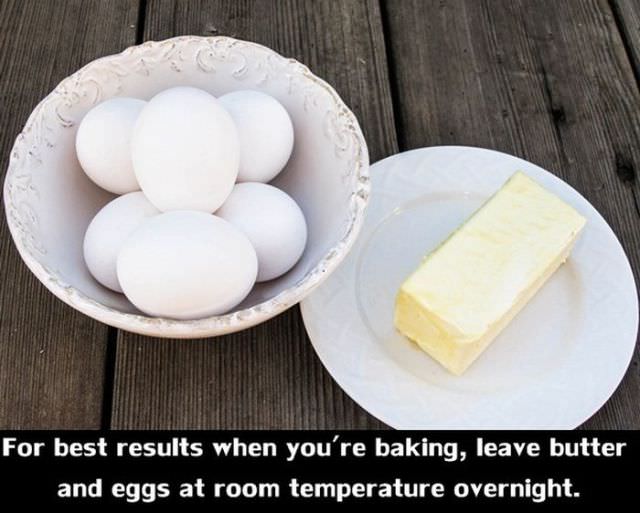
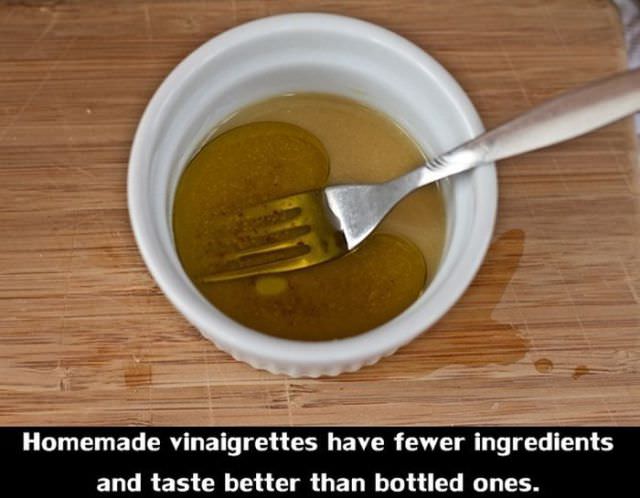
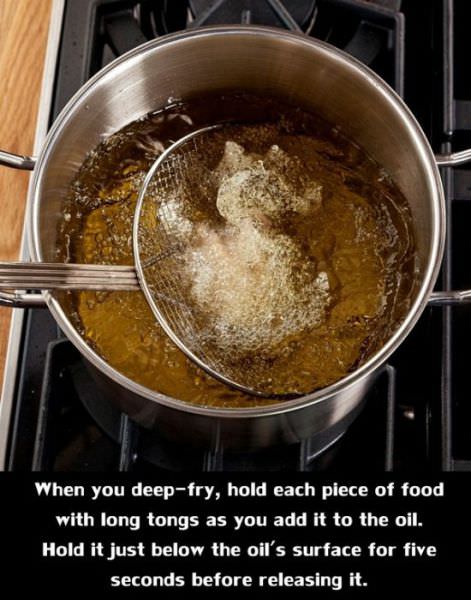
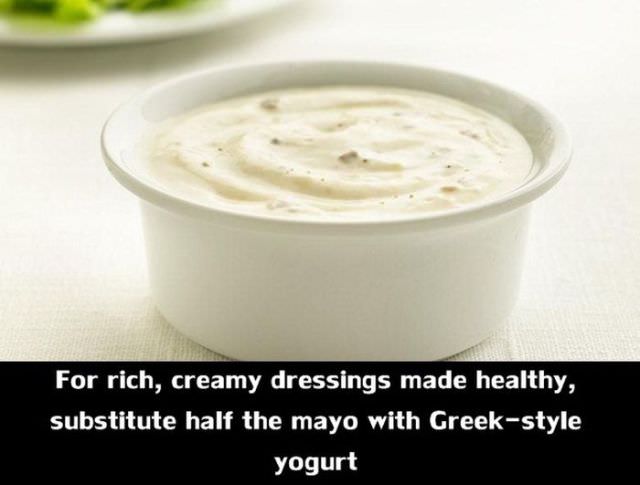
26 Handy Tips For Any Kitchen
Some people think it's an easy thing
to prepare meals in your kitchen. In their mind, it's a skip and a jump
to a well prepared meal. Those of us who actually DO the cooking,
though, know that it is both a science and an art, where experience can
make a huge difference, and where handy tips are always welcome to save
time and achieve better results. Here are 26 great kitchen tips we
should all learn.
|
 |
 |
 |
 |
 |
 |
 |
 |
 |
 |
 |
 |
 |
 |
 |
 |
 |
 |
 |
 |
 |
 |
 |
 |
 |
 |
| Those interest in health and cancer related topics are free to view my cancer blog- http://cancersupportindia.blogspot.com/
those interested in cancer and health related topics are free to see my blog-
http://cancersupportindia.blogspot.com/
for crochet designs, my blog, those who like a particular design are free to mail me
http://My Crochet Creations.blogspot.com For info. about knee replacement, be free to view my blog- http://knee replacement-stickclub.blogspot.com |
Friday, November 14, 2014
Clean a Filthy Oven Easy and Fast!
Whether you use a big oven or a small
one, you cook a lot or you use it on occasion - all ovens eventually
get grime and fat stuck to the bottom, sides and door. These stains can
be incredibly hard to get rid of, even with the variety of chemical
solutions we have.
But there ARE faster and easier ways
to clean an oven than just scrubbing hard enough. Here is some excellent
advice to clean your oven!
Tip: Remember to use gloves in whatever you do; protect those hands!
|
 |
|
First, use protective measures: Baking paper or tin foil.
The first
step of keeping an oven clean over time is in taking precautions. For
instance, put casseroles on baking paper while you cook them to keep any
liquids from reaching the oven. Also, you should put a tray wrapped in
tin foil at the bottom place of the oven, so whatever makes it past the
paper will end up there and won't have to be scraped later on.
Strike the iron while it's still hot - with salt.
Next time
you witness a spill in your oven, don't just watch it and mumble to
yourselves that you'll clean it later, but spread a little salt on the
still liquid stain. When the oven cools, you'll be able to wipe off the
stain with a cloth (without any left behind). By the way, this trick
works well for a stove as well.
Let steam do your dirty work
Before you
roll up your sleeves and get to work rubbing at those stubborn stains,
put a heat-proof bowl filled with water in the oven, and put it on high
heat for about 30 minutes. The steam will soften the fat and dirt and
will make removing them that much easier.
The secret to fighting stubborn stains
Drinking
soda is a user-friendly way to clean fat and dirt stains. How does it
work? Spread a generous layer of drinking soda on the stain (at the
bottom of the oven) and cover with a damp cloth for a few hours. Then
use a vacuum cleaner to suck away the soda (be sure to empty the vacuum
cleaner immediately after) and wash the area well with cloth and water.
Use the glass scraper
Instead of
scrubbing and scrubbing at the hard stains at the bottom of the oven and
on its door. Use a glass scraper, and gently use with some hot water to
scrape off the stains you thought you wouldn't be able to get rid of.
You can get a glass scraper in most home improvement shops etc.
The oven is clean? Now it's time for the shelves and trays!
The
simplest and most effective way to do these is just to put them in the
dish washer and let it take care of the hard stains with hot rinsing. If
you don't have one, just soak them in vinegar over night and then wash
them.
And as a finale, introduce a good smell to your oven with a lemon!
If your
oven has a bad odor, even after being cleaned, it's time to refresh it.
Squeeze two lemons worth of juice, and put it in a heat-resistant bowl.
Add some water. Throw in what's left of the 2 lemons as well, and put
the oven on medium heat for about 20 minutes. Believe you us, not only
will a lemony, refreshing smell spread through the kitchen, but the
process also helps in getting rid of more stubborn stains.
those interested in cancer and health related topics are free to see my blog-
http://cancersupportindia.blogspot.com/ for crochet designs, my blog, those who like a particular design are free to mail me http://My Crochet Creations.blogspot.com For info. about knee replacement, be free to view my blog- http://knee replacement-stickclub.blogspot.com |
Wednesday, November 12, 2014
Power Smoothie
Ingredients
skimmed milk chilled 1 cup
low-fat yoghurt 1/2 cup
apple chopped 1/2 cup
grapes/ raisins 5-6
almonds soaked 4-5
flax seeds 1/4 tsp
Method
combine all in a blender, serve at once.
skimmed milk chilled 1 cup
low-fat yoghurt 1/2 cup
apple chopped 1/2 cup
grapes/ raisins 5-6
almonds soaked 4-5
flax seeds 1/4 tsp
Method
combine all in a blender, serve at once.
those interested in cancer and health related topics are free to see my blog-
http://cancersupportindia.blogspot.com/
for crochet designs, my blog, those who like a particular design are free to mail me
http://My Crochet Creations.blogspot.com
For info. about knee replacement, be free to view my blog-
http://knee replacement-stickclub.blogspot.com
http://cancersupportindia.blogspot.com/
for crochet designs, my blog, those who like a particular design are free to mail me
http://My Crochet Creations.blogspot.com
For info. about knee replacement, be free to view my blog-
http://knee replacement-stickclub.blogspot.com
Healthy chocolate pancake
Ingredients
jowar flour/ white millet flour 1 cup or ragi flour
dark chocolate finely chopped 1/4 cup
skimmed milk 3/4 cup
sugar substitute/ sugar 1/4 cup or to taste
baking pdr. a pinch
vanilla essence few drops
oil/ butter for cooking
Method
combine all the ingredients in a bowl with a little water and whisk to make a smooth batter, keep aside
heat oil/ butter in a non-stick pan, spread the batter to make a thick pancake, cook over medium flame on both sides till golden brown
serve hot.
those interested in cancer and health related topics are free to see my blog-
http://cancersupportindia.blogspot.com/
for crochet designs, my blog, those who like a particular design are free to mail me
http://My Crochet Creations.blogspot.com
For info. about knee replacement, be free to view my blog-
http://knee replacement-stickclub.blogspot.com
http://cancersupportindia.blogspot.com/
for crochet designs, my blog, those who like a particular design are free to mail me
http://My Crochet Creations.blogspot.com
For info. about knee replacement, be free to view my blog-
http://knee replacement-stickclub.blogspot.com
Sago/ sabudana pudding
Ingredients
sago/ sabudana 50 gm
grated coconut 4 tbsp/ 20 gm
skimmed milk 500 ml
cardamom pdr. 1/4 tsp
almonds chopped 1 tbsp
sugar/ sugar substitute 3-4 tbsp or to taste
Method
soak sago in water for an hour
boil milk in a heavy bottomed pan, add sago, coconut, cook till sago gets transparent
add sugar, nuts, cardamom, boil for 2 minutes, remove, serve hot/ cold
those interested in cancer and health related topics are free to see my blog-
http://cancersupportindia.blogspot.com/
for crochet designs, my blog, those who like a particular design are free to mail me
http://My Crochet Creations.blogspot.com
For info. about knee replacement, be free to view my blog-
http://knee replacement-stickclub.blogspot.com
http://cancersupportindia.blogspot.com/
for crochet designs, my blog, those who like a particular design are free to mail me
http://My Crochet Creations.blogspot.com
For info. about knee replacement, be free to view my blog-
http://knee replacement-stickclub.blogspot.com
Monday, November 10, 2014
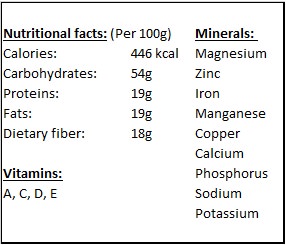
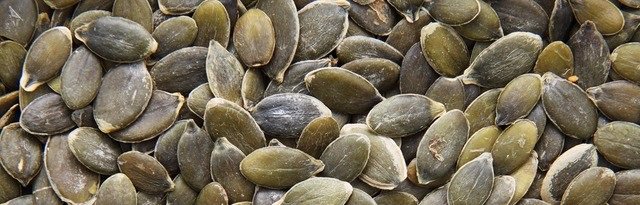
The Health Benefits of Pumpkin Seeds
After buying a pumpkin, most people
would clean out the seeds, dispose of them, and keep the flesh, and
that’s a terrible waste. Pumpkin seeds are not only edible; they’re
incredibly healthy and make for a delicious snack.
Pumpkin seeds are rich in Omega-3
fatty acids, many nutrients, proteins, minerals and vitamins. They can
help lower your blood pressure, bolster your immune system and help in
preventing cancer.
 The
seeds are also rich in antioxidants, making them a powerful antiaging
addition to your diet. The high levels of iron and magnesium are
incredible energy-boosters, making perfect for pre or post-workout
snacking. They help prevent the formation of kidney stones and are an
excellent source for zinc, potassium and phosphorus. The
seeds are also rich in antioxidants, making them a powerful antiaging
addition to your diet. The high levels of iron and magnesium are
incredible energy-boosters, making perfect for pre or post-workout
snacking. They help prevent the formation of kidney stones and are an
excellent source for zinc, potassium and phosphorus.
If that’s not enough, pumpkin seeds are useful at destroying tapeworms and roundworms, as well as boosting fertility levels.
|
|||||
 |
|||||
Other benefits of pumpkin seeds
|
|||||
 |
|||||
|
Preparing pumpkin seeds:
|
|||||
|
|
|||||
|
Tips to remember:
|
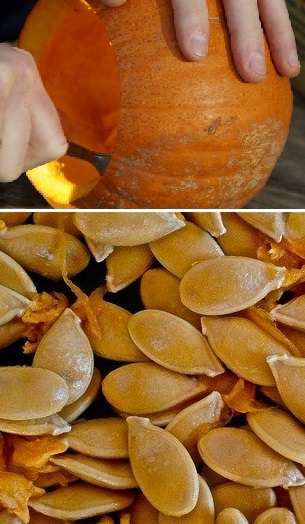 Clean the seeds
- You have to clean the seeds meticulously until there are no signs of
pumpkin guts. The best way to do this is to put the seeds & guts
into a big bowl of water and break it apart with your hands. The seeds
will float to the top.
Clean the seeds
- You have to clean the seeds meticulously until there are no signs of
pumpkin guts. The best way to do this is to put the seeds & guts
into a big bowl of water and break it apart with your hands. The seeds
will float to the top.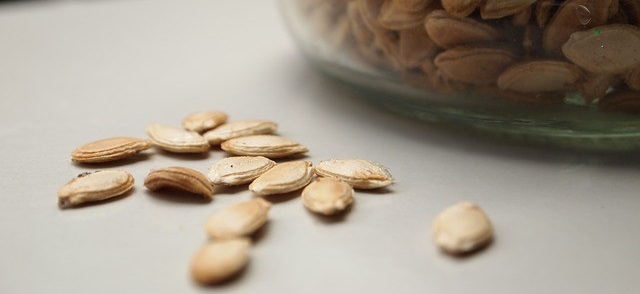
Subscribe to:
Posts (Atom)